Images are an important part of e-commerce. However, when images are not optimized it looks awful, and the webpage loads slowly. Every tip to Optimize Images for the website helps to optimize the file size for web images and implement SEO.
Besides. it can’t attract potential customers. Thus you need to know optimization or take help from an image optimizer or image optimization plugins.
These image optimization tips will help you to become a skilled image optimizer to compress images for WordPress websites without lazy loading or image optimization plugins.
Humans are visual creatures. We interact well with anything that has a beautiful visual. To us, visual cues are essential as we gain meaning, derive information, and even gain emotions. Because of this, visual information is vital for any project. This applies to websites as well.
Thus you need to know photo optimization for the Web. This is a brief guide where we explain the best image optimization tips for people who want professional images for their website and e-commerce store.
Tips to Optimize Images for the Web
Image Optimization tips for the web ensure get the perfect images. It is essential for providing a great user experience. Thus Optimizing images reduces the image’s file size as much as possible without affecting the quality of the image to a great degree.
Compressing images will reduce the image size, allowing them to upload quickly while preserving quality.
You might have heard this term thrown around in conversations or seen it online. Let us understand how to optimize images for the web and eCommerce images.
Knowing about website Image optimization tips is mandatory for any web store, blog owner, or content strategist. Web and eCommerce image optimization is helpful for both search engines and humans to increase help and speed up e-commerce.
Website owners do this to rank their images better on Google and other image search engines.
To them, it should look attractive enough to warrant their attention. However, having visuals is just the first part of the process. The website then has to optimize those visuals so that the entire site loads faster.
When users enter a page, they leave if the load takes too long. This affects the website’s bounce rate, eventually reducing its SEO rankings on Google’s search engine results page or SERP.
Before we look at how to optimize your images, let us quickly look at the following image optimization tips.
Tips #1: Optimize images for the web Using photoshop
Using Adobe Photoshop is an effective way to optimize images for the web. This is because it has many features that can reduce an image’s file size without sacrificing quality.
It also allows you to adjust resolution, contrast, and brightness settings. Additionally, you can change the image’s format to one more suitable for web use.
Tips #2: Optimize images for the web Using Online tools
Optimizing images for the web using online tools is a great way to quickly compress image files without compromising quality. This can be done without needing any special software or skills.
You only need to upload the file and choose from various optimization settings.
Popular online tools include compress jpeg, JPEG Optimizer, Kraken.io, and TinyPNG.
Tips #3: Edit Product Images Properly
As a Clipping Path Service provider for e-commerce, we have to edit many product pictures and other images daily. A properly edited image plays a vital role in the e-commerce website.
You can edit the background to white, add shadow effects, and remove any imperfections to enhance product image beauty.
Tips #4: Choosing The Product Angle
If you are operating an e-commerce platform, you must know that choosing your product shows is very important.
Many e-commerce platforms have multiple shots showing the top, bottom, and side angles of the products they display. Let us retake the example of a smartphone. Show images of the box.
Then show pictures of the phone outside the box. Then show multiple angles of the phone itself. This is just one of the ways you can do this. There are many ideas that you can focus on to get the most out of our product shots.
Tips #5: Select the Right Dimensions

Dimension is the length and width of the image. It will help you understand where you can fit the image on your e-commerce platform.
Tips #6: Choose The Best Resolutions That Fit all Devices

People often need clarification about these topics. The reason behind this is laid on the basics.
We know that the best quality images always contain a higher resolution.
But this is only true for some pictures; you must monitor file size. √
Choosing the best resolution for the web doesn’t mean saving it on high res but saving a clear image with enough details.
Tips #7: Choosing Your Preferred Image File Type
Consider three essential file types if you are saving images for your e-commerce platform.
These are JPEG, GIF PNG Each of these file types gives you its advantages and disadvantages.
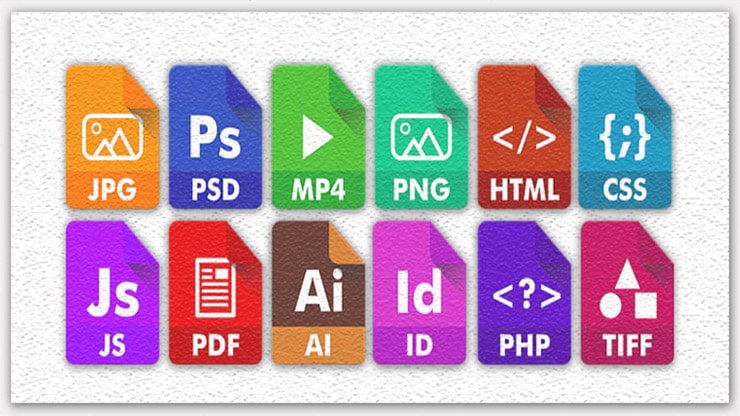
Let us try to examine each one of them separately. And find out the good, bad, and ugly file types.
JPEG- The most famous image type

One of the most commonly used image types is JPEG. You can see this not only when people share files but also in online images.
So why is JPEG the most commonly used image format?
One of the main reasons is that JPEGs are small when it comes to filing size. However, when you have images or photographs with many colors, you are better off using a JPEG, as the file type provides an extensive color palette.
This allows you to preserve the colors of the image you are working with. You can save the JPEG in different qualities, each having its advantages.
If you save in high quality, the image will have a large file size, though not as large as PNG or GIF.
Medium quality gives you the advantage of colors and the benefit of saving in size in moderate quantities. Low quality is all about reducing the file size as much as possible.
You will notice that icons are usually saved in low quality because they need to occupy more space on a website.
PNG – Portable Network Graphics
PNGs are also commonly used on websites, but JPEGS are less. If you use Adobe Photoshop to edit your images, you can save the file in PNG-8 or PNG-24 format.
PNG-8
A PNG-8 gives you a smaller size image featuring fewer colors, reducing the vibrancy of the picture.
PNG-24
The PNG-24 is the opposite; it gives you a wider palette and the image size will be much larger.
Now, million-dollar questions are:
- But why do people use PNG images over JPEG images?
- Are our quality and color the only reasons to choose PNGs?
- When to use them?
After all, that does not make them any different from JPEGs.
The thing about PNGs is that they can handle transparency. This becomes important when projecting your logo on a blank background. Or when you want images to have transparency in or around them.
GIF – Graphics Interchange Format
For e-commerce platforms, GIFs are a great way to advertise on their pages. They can carry information with a short animation set on a loop.
People are attracted to images that grab their attention with novelty, which is the idea that something new can be discovered in an object or idea.
- GIFs give viewers a new image as it goes through the animations.
- In order to optimize photos, ensure that you choose the images properly.
- You do not have to stick to one image only.
However, make sure you know where your visuals are going and if you require one type of file over the other.
Tips #8: Use WordPress Plugin
Using WordPress plugins on your website is the best way to optimize images. These plugins will help you change the image’s size, reduce the file size, and even compress them without losing any detail.
There are a few plugins available that can help you with this task.
WP Smush is a popular plugin that allows you to compress and resize images without losing quality. It will also strip metadata from JPEGs and PNGs, loading them faster.
Imagify is another great plugin to compress images and resize them for the web. Additionally, it provides various levels of compression with lossless optimization.
These WordPress plugins are highly recommended for optimizing images for the web and speeding up your e-commerce site. These plugins include EWWW Image Optimizer, Lazy load images, and ShortPixel Image Optimizer.
Tips #9: Save the Image Properly
You might think this is obvious, but too often than not, you will be surprised at how many people need to save images right.
When you save images, you will notice that they have KB, MB, or GB sizes. If your photo is in GB, consider changing the size. But before that, here are a few things you should know.
Tips #10: Name Your Images Properly
Let’s take the example of the Samsung image we mentioned above. You need to think about how people will search for the product. So you should think of naming it as Samsung-s7-smartphone or Samsung-note-8-smartphone.
Google will use these cues so that people can easily find the image.
Tips #11: Compress Properly
Compression is the process of reducing the file size of the images. There are many ways to do this, directly through the software or online platform.
Tips #12: Rename Your Images
When you have followed the above steps, let us get down to naming the file. Let us take an example in this case. Say you have an image of a Samsung smartphone that you would like to add to your e-commerce platform.
Typically, most people upload the image without changing its file name. This way, you have a random assortment of digits and numbers.
Tips #13: Always Test Your Images
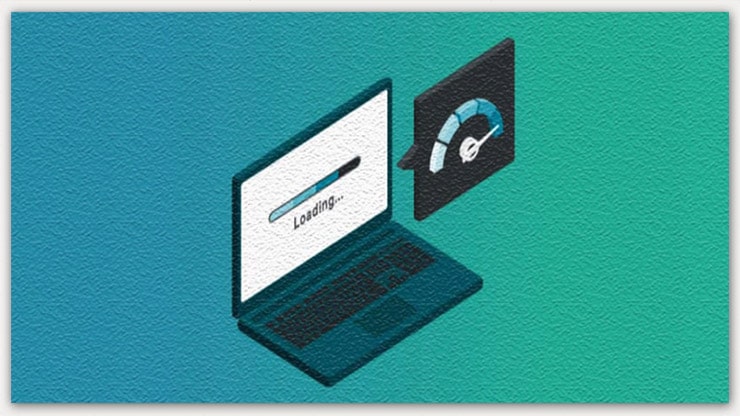
Once you optimize them, ensure they work correctly on the website. Test to see if the images load fast.
See if you can see the image clearly and the dimensions correctly. Most importantly, you also need to see if the photos are mobile-friendly.
If your visuals look great on a desktop, they may differ on a mobile device. Once you confirm that the images are loading correctly, keep them. Otherwise, replace the photos so that you have the right ones.
Web performance checking tools:
Tips #14: Prepare your Alt Tags
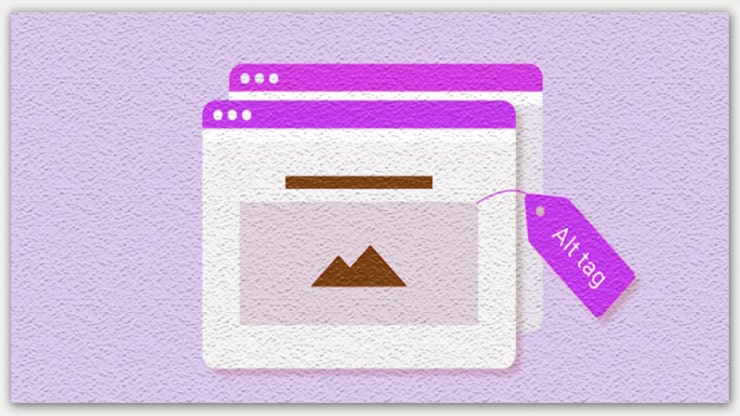
An alt tag is a description of the image that will describe what the photo looks like.
Most e-commerce platforms already provide you with the option of adding alt tags. When they do, enter the text alternative for the image that makes it easy to describe the image.
Tips #15: Add Context Shots

A context shot is a picture that shows how your product is displayed in real life. For example, if you are indicating furniture, then it should be delivered to a living room.
In a similar way, try to show how your images look when actually being used by a person or inside a situation.
How do Optimized Images Speed up E-commerce
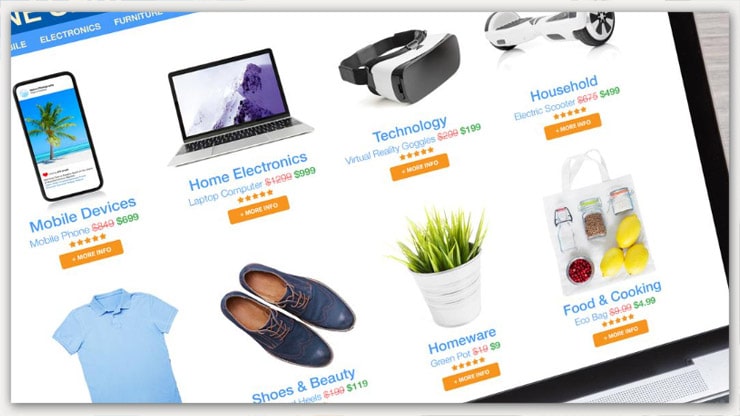
If you look at the structure of a typical e-commerce platform, you will notice that it is filled with images. Pictures on your product pages display the product in different ways.
You will notice that some product pages have as many as ten images. Your category pages also have pictures to give a strong visual appeal to the viewer. Of course, your homepage has numerous photos.
Your homepage has various visuals, from banners to pictures to graphics. Now all of these images take up space and affect the load time of your website. Google takes into account the load time of a website.
With all the images on an e-commerce website, how can someone ensure that their website loads smoothly?
Therefore, you need to find a solution whereby you can still show all your visuals but retain page speed.
How Can You Achieve This Level of Sales?
That is where image optimization steps in. It gives you greater control over the loading of your website.
You are giving better chances to attract customers. The Website does not have to sacrifice images. You have to render them in the best and fastest way possible.
Here is how they contribute to the sales of your e-commerce platform.
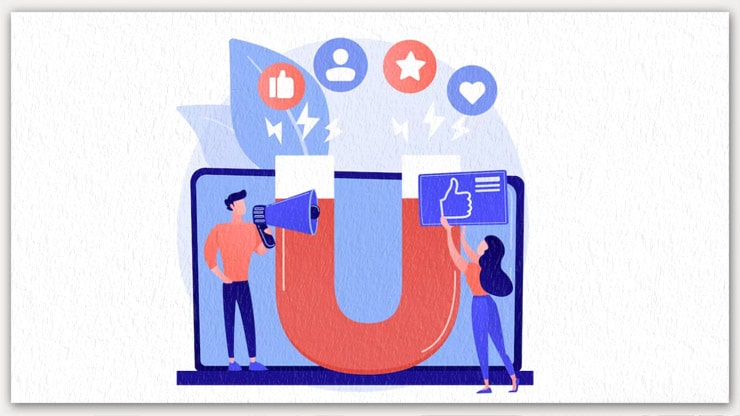
Increased Interaction
Getting proper images helps to grab the attention of the viewer. The photos will encourage them to head over and click on your products. Their first impression will always be the way the product looks.
They want to feel confident that the quality of the product is correct. Surprisingly, a good image can convince them of the quality.
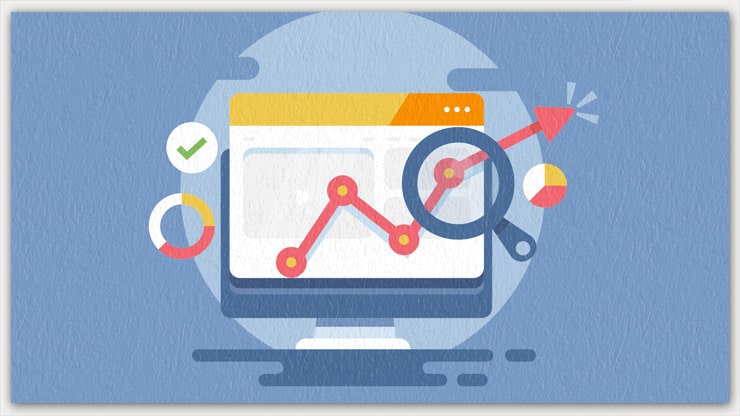
More Clicks Increase Traffic
With good images, you can draw more clicks. This, in turn, increases your page ranking. Once it does that, more and more customers will enter your site to make a purchase.
Now, Let us analyze it this way. If load times increase, fewer people interact with your product pages. And when that happens, you lose sales. You need to retain users. You should give them the information they require as soon as possible.
This is why, by optimizing images, you are not keeping the customers waiting.
You are giving them quick cues so they can make up their minds immediately. Wait too long, and you will have customers heading over to your competitors so they can have a better working experience.
Speed up E-commerce Conversion
According to marketing expert Jeff Bullas, in an online store or eCommerce platform, people react more toward the product’s images than the features it brings to the table.
Looking at a page with crisp and quality imagery gives them the confidence that they are approaching a brand of distinction.
When people enter your website, you should know that a picture is more than just a thousand words. It is the gateway to all the information you can easily show the viewer. It affects your sales by showing your brand’s personality.
No one likes to look at a blurred image or squint their eyes to check on a small image. You need to work to give a user experience that will make viewers return to your website.
Not only do visuals aid the user’s experience on your website, but they will also attract potential clients. Your customers or clients might need to trust a site with updated images.
More Views
Visuals get more views on your website. As mentioned above, it will encourage people to return to your website for more views.
This gives you more chances to convert potential customers or clients. In other words, visuals become integral to your revenue if you have an e-commerce store.
User Engagement
While examining visuals, people tend to stay longer on pages. This affects the average time spent on a page. It is so, maintaining Website Imagery Guidelines.
If you have links on the page, people tend to click on them more as they have already looked at the page for a long.
Decreased Bounce Rate
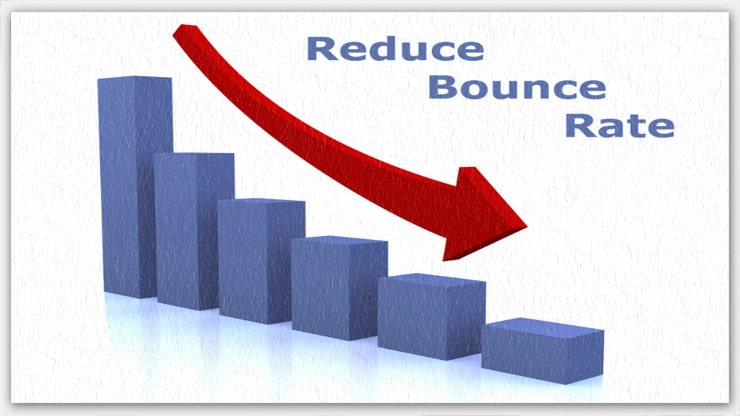
The above two factors affect the bounce rate. A higher bounce rate tells Google that people do not find value in your website.
Google will take this information and bring your website down in the search results. This affects your chances of finding customers and visitors to your site.
If you are running an e-commerce platform, this becomes a big cause for concern as your revenue depends on the number of visitors you have on your website.
The more visitors you have, the more purchases are bound to happen.
Conclusion
Website imagery guideline is essential to survive and lead the web and online marketplaces like Amazon, eBay, Esty, Shopify, etc.
I hope this” Optimization tips for Web” answers all your questions. Feel free to comment and share it with your friends.
You may read: