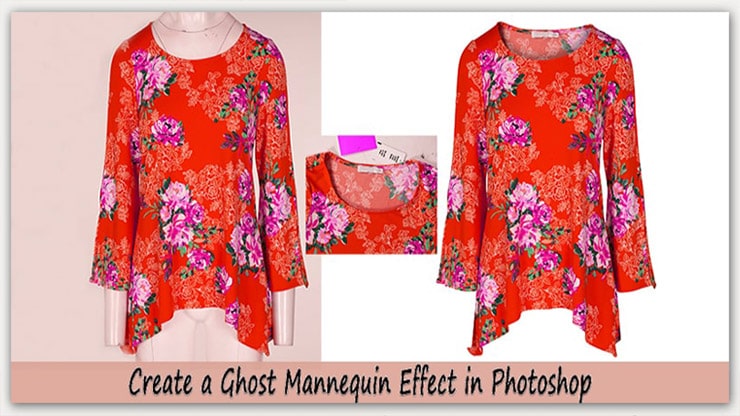
Have you ever seen those clothes images on websites and wondered how the photographers must have clicked them? How do they manage to make a dress look like floating over nothing?
Photographers use Photoshop to create amazing effects. One such effect is the ‘ghost mannequin effect’, also known as the invisible mannequin or hollow man technique.
The ghost mannequin photography challenge may seem difficult and tedious, but it is surprisingly easy when using Photoshop. This article will provide step-by-step instructions for creating this unique Ghost Mannequin Effect.
Soon you can create stunning product images without needing an expensive mannequin!
Would you like to know how to create a ghost mannequin effect in Photoshop? If you want to know about creating a ghost mannequin, you are in the right place. And I’m here to show you how to do that work using Adobe Photoshop.
Would you like to know how to create a ghost mannequin effect in Photoshop? If you want to know about creating a ghost mannequin, then you are in the right place. And I’m here to show you how to do that work using Adobe Photoshop.
In this tutorial, I will use the two images (front and inside of cloth) to illustrate the ghost mannequin.
Moreover, please explain how to combine them in a single 3D hollow image using ghost or invisible mannequin techniques. The inner photo doesn’t match the above requirements, so you can learn to work with less-than-ideal images.
How to Invisible Mannequin to Create Ghost Mannequin Effect
Invisible mannequins allow you to display a garment without the distraction of the dummy itself.
The “ghost mannequin effect” is achieved by cleverly positioning and shooting garments on a real mannequin, then using Photoshop to remove the shoulder part, side seams, arms, and other features that identify it as a mannequin. The result is a perfect photo of clothing modeled with precision.
Creating the ghost mannequin effect isn’t as hard as it looks – once you know how! In this article, we’ll take you step-by-step through using an invisible mannequin for beautiful clothing product photography.
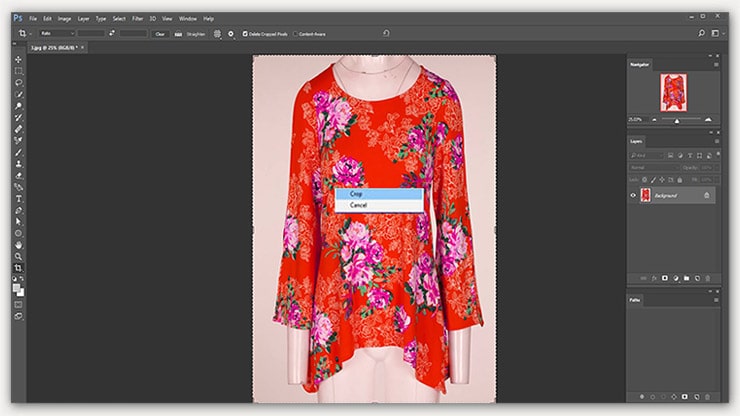
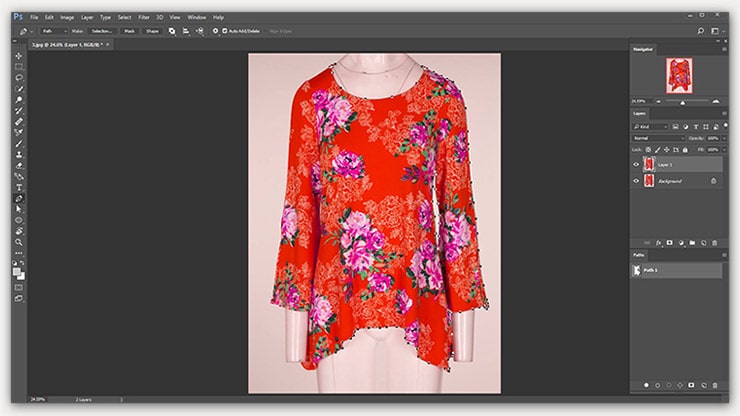
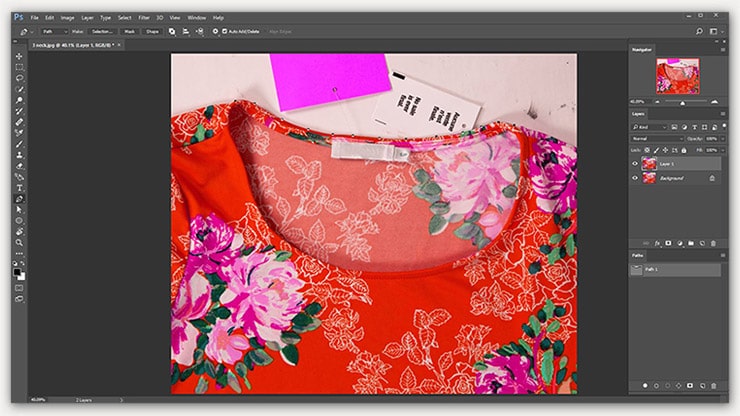
Step 01: Open the Image in Photoshop (1st image)
Firstly, crop the image so that you should have a minimum background that can be visible from the back of the product. Using the Crop tool is the easiest option to do this.
Select the Crop tool from the toolbar placed on the left side of the Photoshop window screen. Create a layer by pressing Ctrl + J.
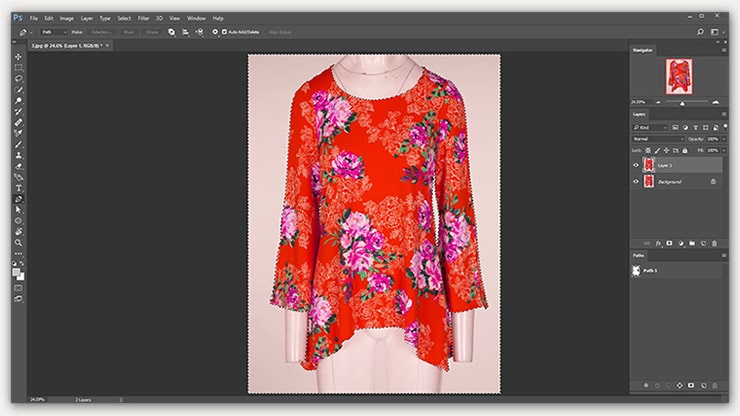
Step 02: Start Selecting Edges using the Photoshop pen tool
Now you need to start cutting off the product’s dummy and background. It would help to complete this step by choosing Pen Tool |(clipping path) from the toolbar.
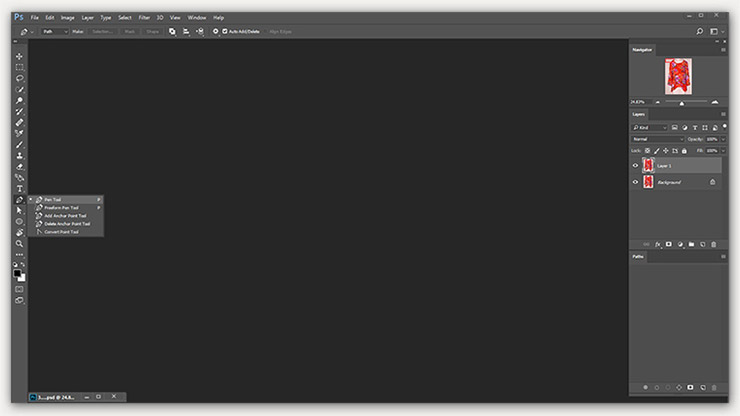
Start Selecting Edges using the Photoshop pen tool.
Step 03: Starts From the Collar line
Start from the upper part of the collar from where the dummy’s neck begins and continues downwards till the mannequin’s neckline. Do this slowly and efficiently to get your way along the collar line.
Step 04: Selecting the rest of the cloth carefully
After completing step 04, continue the same procedure for the mannequin legs and complete creating a clipping path to the next portion connecting it when you see the “O” sign.
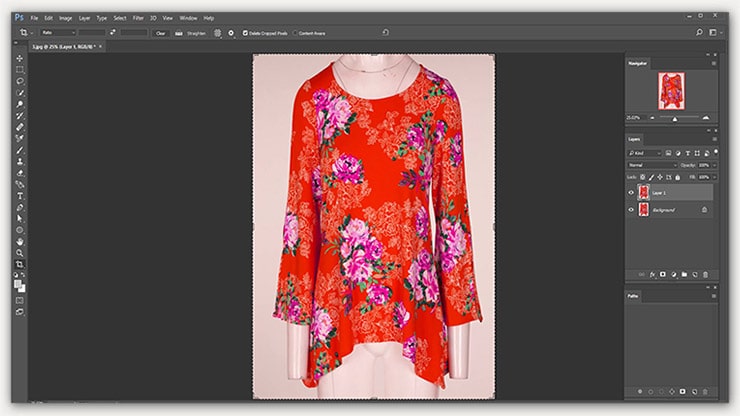
Step 05: Inverse Selection
To create a palette path, press and hold Ctrl. Choose paths inverse selection and delete the background.
Step 06: Open the Inner Side Photo (2nd Photo, Neck part)
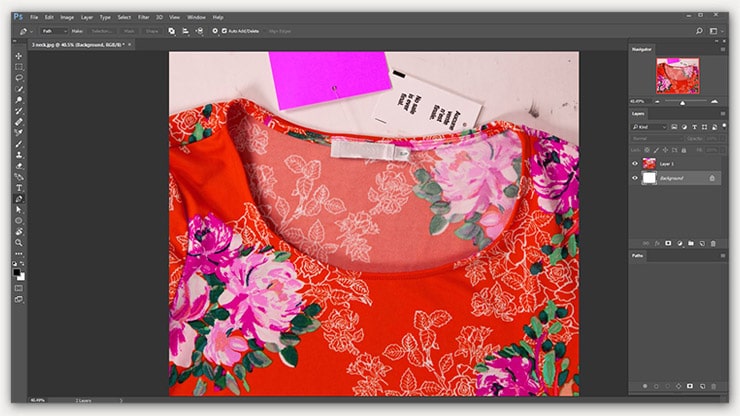
The next step is to open the inner side of the product to crop the collar area.
Step 07: Combining Both Images
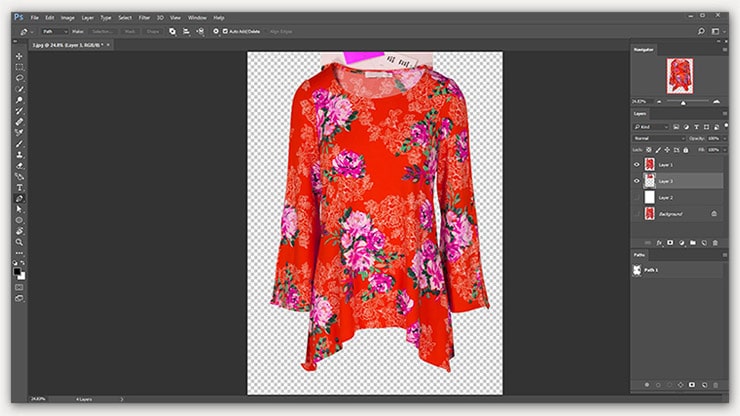
Now, moving the inner portion of the cropped part in front of the first image of the product, press Ctrl + A + C+ V together.
Step 08: Positioning Layer
At this step, send the new layer under the first layer of the product’s front side. Here it would help if you decided on how much product you require after you are confident the replacement was adequate.
Choose the pen tool, cut through the portion you implanted from the top of the collar, and throw out additional clothing.
Step 9: Fine-tune
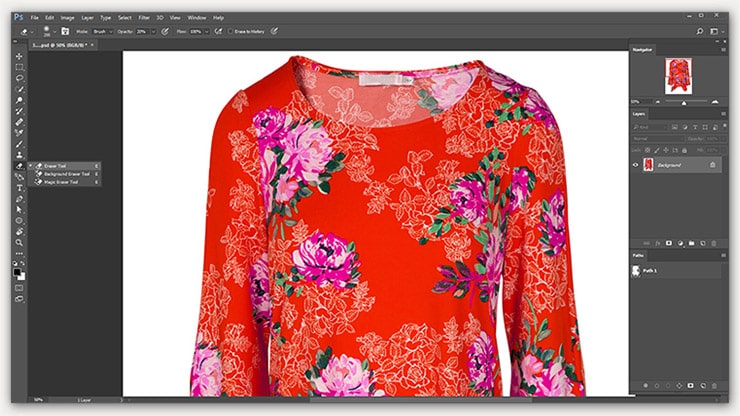
Now, you are almost done. Fine-tune is required in this process. To soften the uncut areas, choose the eraser tool.
Also, you can add a shadow to give a realistic look. You can do many things using Photoshop, such as ghost mannequin effects, photo manipulation, etc.
Step 10: Finishing Up With Creating Ghost Mannequin Effects
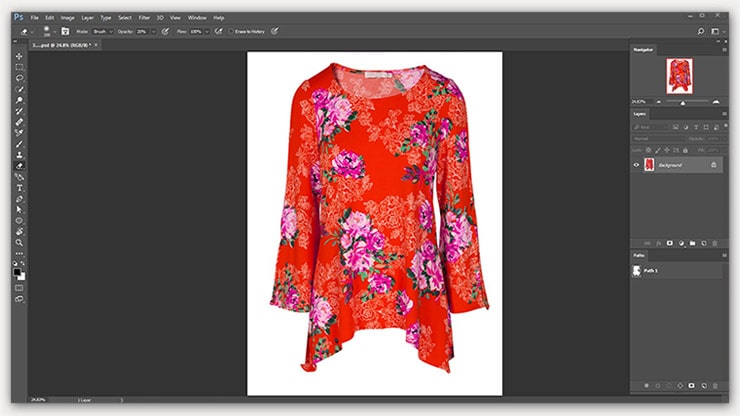
You can use the brush size 25 to append darker shades on the downside collar so that it looks more natural. Photoshop tools allow you to do anything on your photograph to get your expectations as best as possible.
Tips to Invisible Mannequin and Create A Ghost Mannequin Effect
In Photoshop, it will be easier to create a ghost mannequin effect. While certain sellers have particular invisible models, many of us must depend on regular models and the techniques I explained in this tutorial.
For making an invisible mannequin, a photographer needs to follow these tips, which I have given below:
- When using a model, ideally a mannequin, you must ensure that the dummy’s arms are hanging down and the legs are uncrossed.
- Therefore, clip back long hair or jewelry to cover the actual dress.
- Keep your camera and light in the same spot when shooting interior clothing.
- Place your clothes on a whiteboard or foam core piece and stand on the board at the same height and position as a model to ensure better lighting.
- Choose neutral with simple backdrops. The best thing is a black, white, or light gray background, which is not reflective.
- The world’s top online fashion brands found that over 94% are plain and friendly.
- Until shooting, iron or steam garments and ensure that clothes fit correctly on the model free of folds or gaps.
- On the other hand, don’t put your camera above the product, looking down.
- Shooting the clothes from the wrong angle will distort the product. And several post-processing tasks are required.
In an ideal scenario, You would have ultimate control over the shooting of your cloth photography. Nevertheless, you can still produce an invisible mannequin impact in Photoshop.
This is a common technique of Photoshop editing services for cloth image background removal.
The following tutorial demonstrates an intangible model technique that works in great and not-so-good photos. Using this unique Ghost Model application, you can also put your picture on a color background.
Benefits of Getting Ghost Mannequin Effect from Clothes Photo Editors
The best clothes photo editors are specialized in editing ghost mannequin product images. They skillfully edit clothing so that shots are taken transparently or see mannequins to show the items their best possible capability.
Sometimes this can be challenging. The reflective glare opposes the clarity of the material and thus disturbs the entire image quality. They are qualified for photo editing clothes on wire mannequins that require considerable time and effort to edit each picture.
Moreover, they can edit pictures perfectly that are taken on a model or dummy. Besides, they can merge two photos, first showing the product from the front.
After that, secondly, turning in to reveal the brand label, giving your prospective buyers a realistic picture of the apparel.
The clothing photo retouchers can also edit and customize your top-quality dresses captured by 3D floating. Moreover, displaying each dress beautifully with clear-cut details.
Conclusion
In this tutorial, you learned how to create a ghost mannequin effect using Adobe Photoshop. Furthermore, how can you work with the best photos? First, you can take an easy picture and practice it.
When you do it properly, you can do it in a complex image. That will help you the most. Also, Our dedicated designers can perfectly edit ghost mannequin pictures because they only work on this part of photo editing.
However, you can get a better result by reading this tutorial. And make your work outstanding. So, please, if you have any questions about this tutorial, let me know in the comment section below.