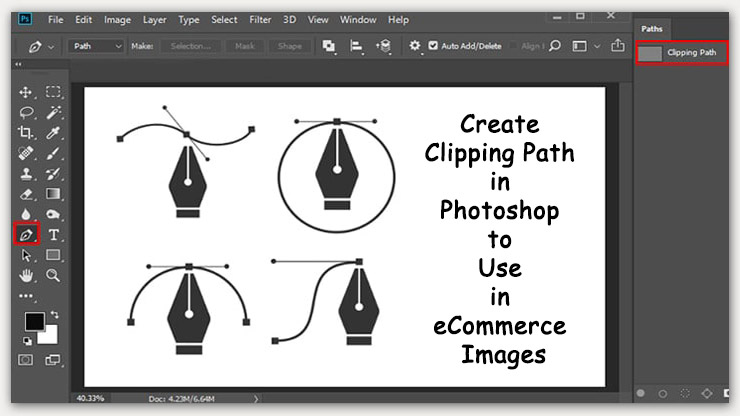
How would you create a clipping path in Photoshop to use in eCommerce images?
Clipping paths are often used to mask out unwanted areas from photos or illustrations. They allow designers to remove backgrounds and add objects such as text, logos, borders, etc., without affecting the rest of the image.
In this tutorial, I’ll show you how to create a clipping path in Photoshop CC.
To know how to create a clipping path in Photoshop, first, you need to see the clipping path definition. After that, you have to know how to make a clipping in Photoshop. Then You can use the paths in Photoshop.
After all, you know. We will now show how to create image clipping in Adobe Photoshop and use it in eCommerce image editing.
What does Exeatly Creating Clipping Path Mean?
A clipping path is a closed vector path or shape that can create an outline using a” pen tool” around the subject, which assists in separating the image background.
Moreover, it can be used in several types of images to get the solutions of image resizing, retouching, or editing images into any shape & size.
Read more about: What is clipping path?
Clipping Path in Photoshop Using Pen Tool
Creating a clipping path in Photoshop software is a convenient way of using the pen tool to edit your image. Although, you can make a path in Photoshop with the magic wand tool. But you will get the worst experience from it.
However, when it comes to the pen tool, the fact that a slim outline is executed efficiently. The pen tool allows you to make curved and straight paths with 100% accuracy, but it takes great practice to be professional.
NB: Don’t be upset if it’s hard for the first time. You can always fix the path after you make it. Some online clipping path company is available for you also.
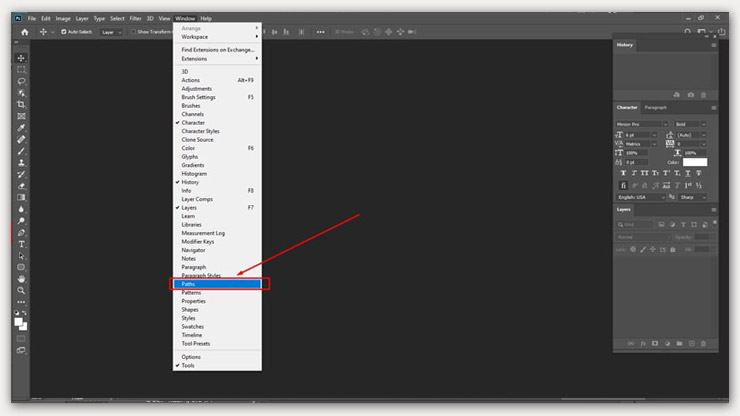
Choose the pen tool to make a pixel-perfect path that can be used as a selection. If you can’t find the path menu, select it from the option bar drop-down menu. You will find it at the top of the application bar.
Step By Step Tutorial on Creating Clipping Path in Photoshop
Photoshop has several tools that can be used to create selections. The Pen tool is probably the easiest way to draw a path around an object and make a selection. Once you’ve drawn the path, you can apply various filters to the area outside the path.
You can easily create a clipping path in Adobe Photoshop. The steps below will guide you through the process.
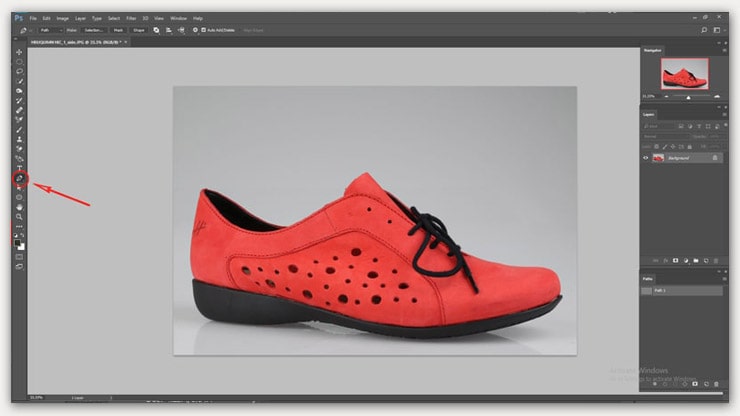
Step 01: Open the Image in Photoshop and Start Working
First, you need to Open (CTRL+O or CMD+O ) your Adobe Photoshop and Pick the image you want to edit. Then, select the pen tool in the tool panel and start drawing around the object.
Step 02: Zoom In
I prefer a 400% zoom (4X) for providing professional clipping path services. As shown in the image below:
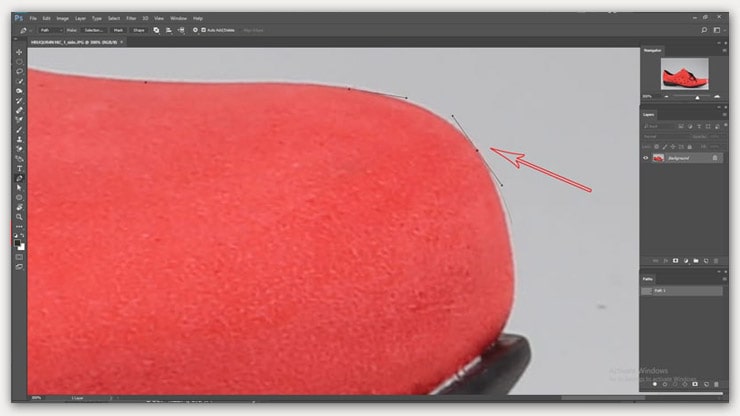
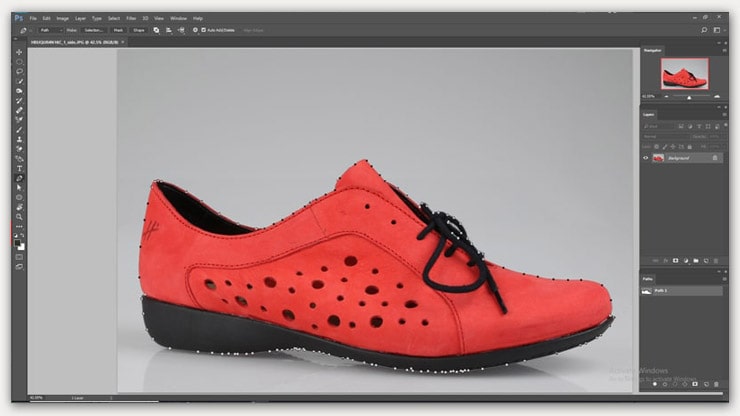
Step 03: Complete the Drawing Path Using the Pen Tool
Draw the complete path using the pen tool, go down in the layers panel, and select the paths panel in the dialogue box.
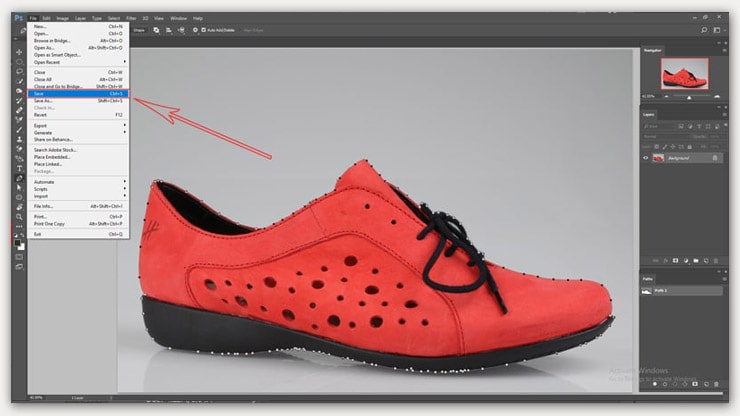
Step 04: Saving Clipping Path
Instead, click on the File option on the top left corner of the screen. Select save from the drop-down menu to save it. Or you can save your path by pressing CTRL+S from the keyboard.
Tips on Creating Clipping Path:
- Always use the default pen tool in Photoshop for the best accuracy.
- Use the Alt, ctrl, shift, and space buttons from your keyboard when you create the entire path.
- Zoom your selected photos so that the edges of the images are clear to you.
- Avoid making more points because it reduces the path quality.
- Be careful if the image edges are so complicated when doing a path.
- You can on the rubber band option from the path settings of Photoshop. It will help you to increase path accuracy.
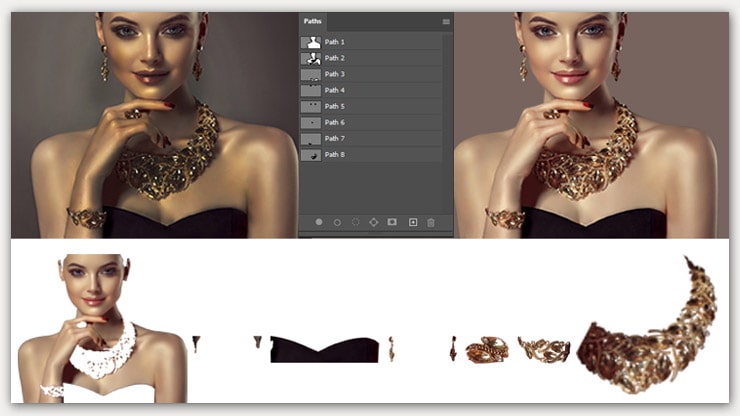
- You can change the path’s name for better understanding when doing multiple paths. I.e., you are doing a clipping on a model photo. There are many things like Dresses, necklaces, earrings, watches, hair, skin, etc. Now you need to separate all the things by using a clipping path. So if you use the path’s name, it will be helpful to find your desired path.
- Use the Ctrl+Z key to discard if you make any mistakes & SHIFT+Ctrl+z key to go ahead if you discard your work by mistake.
- Use the Ctrl+S button from your keyboard to save your paths continuously to avoid any loss of your work.
Using Clipping Paths in eCommerce Product Image Editing
The eCommerce industry is growing day by day because of a lot of brands entering this sector. So competition is getting harder.
All eCommerce managers want to capture the audience’s attention for longer. If your product presents attractively, you can grab the customer’s attention.
Beauty Products on Models
The model must be represented against a well-decorated background to get the best effects of your beauty product images by using the pen tool to create a path on the model’s face and place it on a bright, transparent background.
After that, their facial light and dark areas can be fixed. Finally, the textures, light, tones, and gradients are adjusted to apply to their prospective clients.
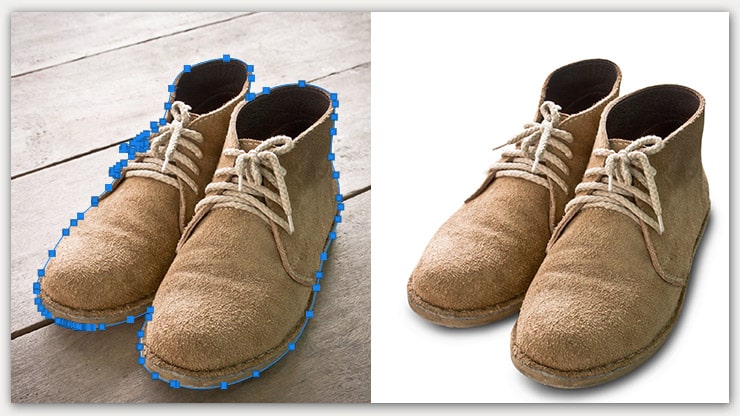
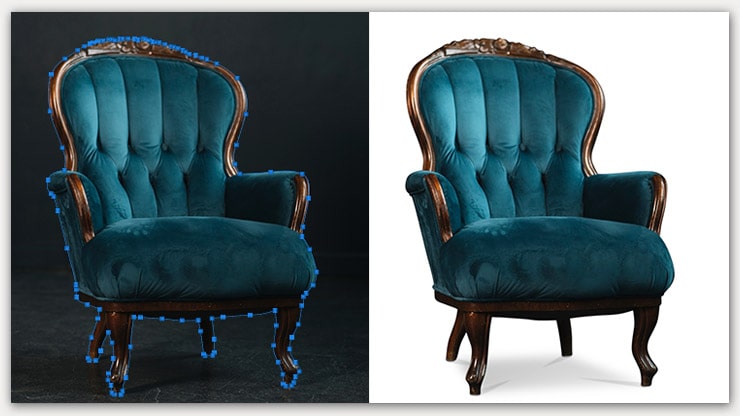
Footwear, Eye-wear, Furniture, and Other Accessories
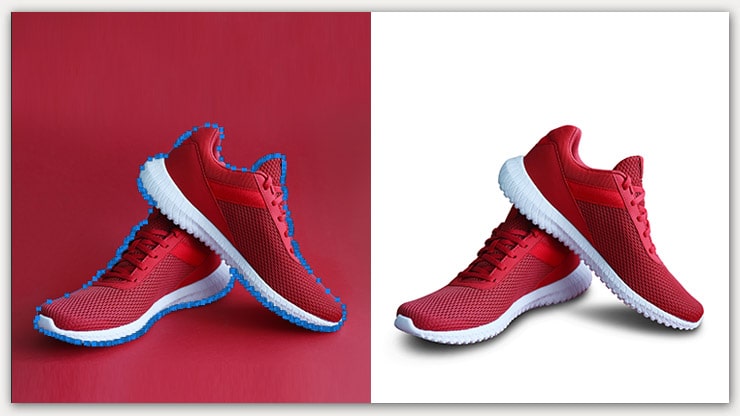
Photo Editing, Deep etching, and photo cut-out methods can be done by Photoshop clipping path. When you replace the objects on the solid background, you can add reflection and natural shadows to make them more eye-catching or outstanding.
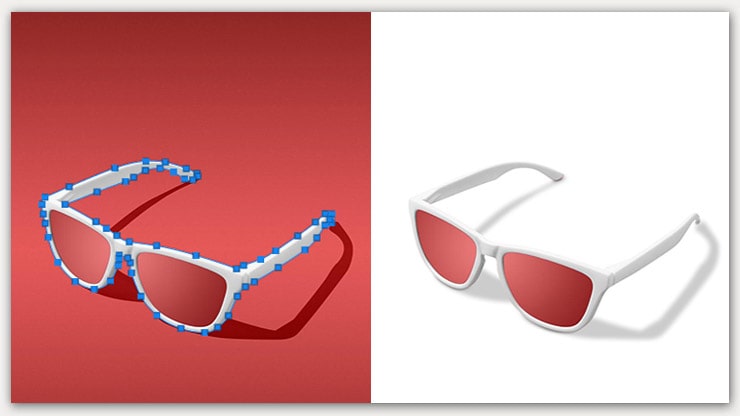
In addition, it will make the object look better with its background.
Clothing and Garments Products
The white background is always preferred for garments products. However, because it makes the image of the clothes attractive if the clothes are displayed without a mannequin, the neck, hands, and shoulder will be manipulated so that the dresses look good.
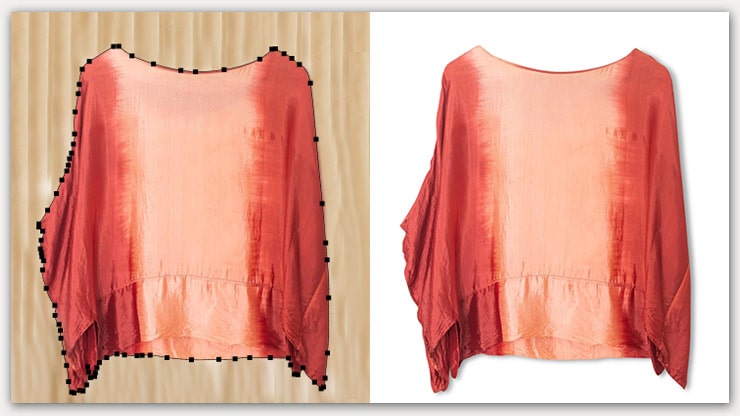
So we can easily cut out the Garments product from the mannequin by using a clipping path.
Benefits of Choosing our Clipping Path Service
Clipping paths allow you to remove unwanted objects from your photo, so they don’t distract from your main subject. Clipping paths are often used to create professional-looking images for websites, but they’re helpful for other purposes too.
For example, you could use them to remove distracting backgrounds from photos of people or add extra details like shadows or highlights to your photographs.
- It helps to cut out unnecessary objects from images.
- To Separate and replace objects from a photo, using a Photoshop path is very easy.
- Multiple clipping paths help to change the color of any part of the image separately.
- Create a layer mask and modify or remove the picture background
The path helps a retoucher to retouch the selected part easily
FAQs
Clipping path is an image editing technique in Photoshop software using a pen tool. It removes unwanted objects, like people, animals, buildings, etc., from images, making them more appealing. For example, you can cut out parts of an image and paste them onto another background.
The process involves cutting out the object and pasting it into a new layer. Then you can move this layer around and change its color, size, opacity, etc.
Clipping paths allow you to remove parts of an image without affecting its overall appearance. They’re often used when you want to crop out some aspects of an image while keeping the rest intact.
Pros:
– Clipping paths let you edit images quickly and easily.
-The results look professional.
Cons:
– Some people don’t like clipping paths because they think they look unnatural.
If you want to sell an item online, you must ensure that your image looks sharp and clear. However, this isn’t always easy when dealing with pictures taken at different angles or distances.
To determine whether you need a clipping path, look at your image. Does anything stand out as being out of place? Is there a shadow behind your subject? Are there any distracting elements in front of your subject? These are just some examples of things that might be causing problems for your image.
If you think you may need a clipping path, try taking another picture of your object without the background first. Then compare the two pictures side by side. If the difference between the two pictures is obvious, then you probably need a clipping path.
Final Verdict
Doing a clipping path in Photoshop is a trendy way to remove unwanted things from an image.
Basic images are too easy to process, but complex image clipping is much more complicated. And it requires extra time and more attention.
To sum up, Image clipping helps you give an image a natural look to focus on color intensity, to modify the look to be more pleasing.
You may read: