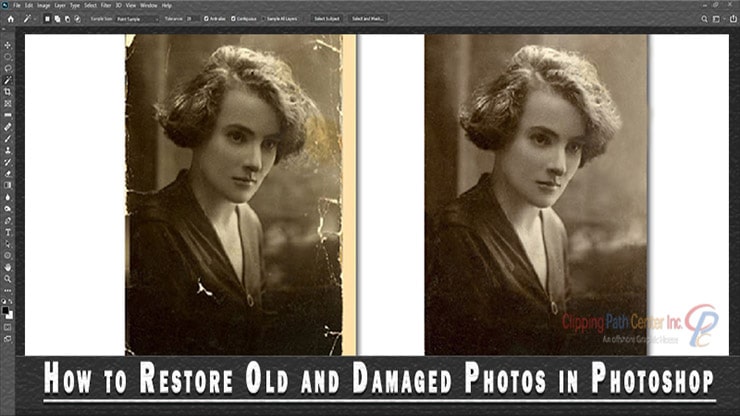
Restore old photos in Photoshop and be happy yourself. Preserving memories with a nice click is one of the important responsibilities of a portrait photographer.
Previously, photos were stored in printed form. Over time, printed images are damaged because of several reasons, such as mold, scratches, stains, torn, missing pieces, and many more.
Due to the advancement of technology and systems, photos are now preserved in digital form. So, if any printed image gets damaged, it can easily be printed again. But if the image has been lost in printed and digital form, restoring and repairing photos is the only way to help,
At this point, Photoshop arrived as a blessing for so many to easily restore old photos back to life. With different Photoshop tools and techniques old photo restoration becomes easy.
You can use an AI photo restoration tool or photo restoration app to repair old photos online in seconds but the photo quality will not be as good as manual restoration.
Since we love to recall memories, people want to restore old photos in Photoshop. In this tutorial, I will share the step-by-step process of how to restore old and damaged photos in Photoshop.
Let’s read below to learn more.
What is Old Photo Restoration in Photoshop?
Old Photo Restoration in Adobe Photoshop refers to the process of digitally repairing and restoring old or damaged photographs using the advanced tools and features that Photoshop offers.
The numerous editing options of Photoshop, such as clone stamping, healing brush, dust and scratches filter, color adjustments, contrast, and brightness enhancements, and many others, help photo restorers to fix imperfections.
The restoration process can repair stains, tears, water damage, scratches, missing parts, or the effects of age and discoloration.
Skilled professionals often perform this process with an understanding of both the technical and artistic aspects involved.
In essence, old picture restoration is not just about repairing the damage but also about recapturing the essence and emotion that the original photo held for family history, personal memories, or historical records.
Step-by-Step Process to Restore Old Photos in Photoshop
Adobe Photoshop’s powerful tools and features can renew old photos and bring them back to life. This step-by-step article will instruct you to restore old photos in Photoshop.
The procedure requires patience and exactness, but the outcomes are profoundly rewarding. So, let your old memories breathe a new life, restoring old photos with Photoshop.
From experts to beginner photo enhancers, Photoshop is a blessing tool. You will hardly find an image that can’t be modified and adjusted by Photoshop.
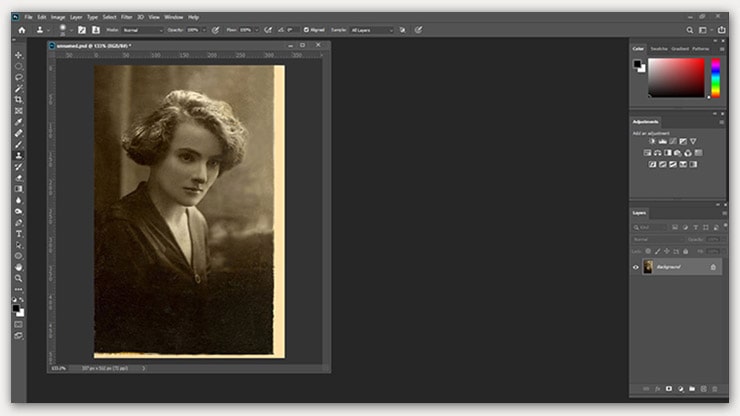
Step 01: Damage Assessing to Restore Images
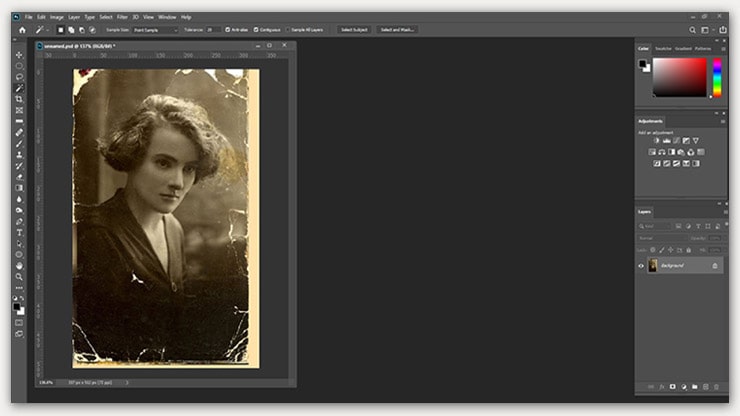
After you receive an image from a customer, scan it first. Open the image in Photoshop. The damage assessing process will let you make a plan to restore photos.
The thumb rule is don’t start restoring an image from the targeted areas; start the photo editing process from global edits.
Firstly, I will make the overall tonal adjustment. If I adjust the crease, rips, and dust first, then these imperfections may come again when I modify the image’s tone and contrast.
Step 02: Adjusting the Levels and Curves For Photo Restoration

With Photoshop, you can do nearly everything following multiple techniques. When restoring old photos, adjustments of the levels and curves offer amazing results.
It is because you can set and adjust the levels and the contrast respectively from within the level.
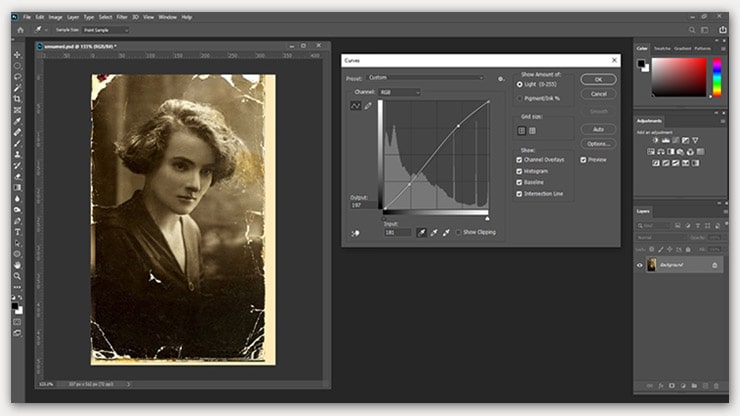
The below graph droppers will let you adjust the level without hassle, and thus, the image tone will be under control. After clicking the black dropper, you will find that the image’s overall appearance has improved a lot.
When restoring this Photo, using the gray or white dropper is entirely unnecessary. Once the level adjustment is made by modifying the black point, the overall image contrast will be tweaked by creating a slight “S” curve. If the adjustment goes too far, don’t worry.
The “Cancel” button will turn into a “Reset” button if you hold the “Option/Alt” key of any dialog box of Photoshop.
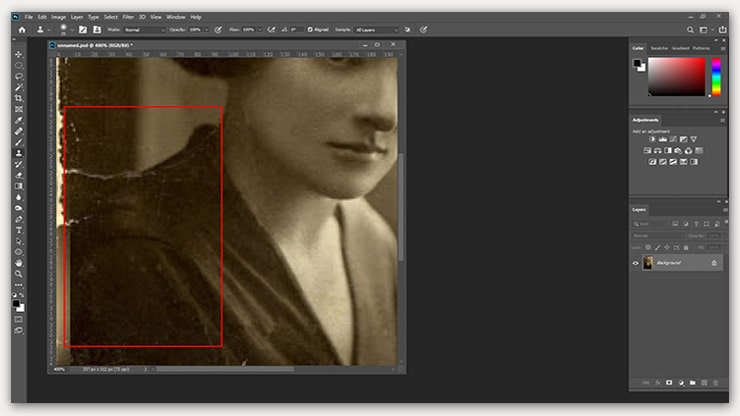
Step 03: Details Tackling in Photoshop
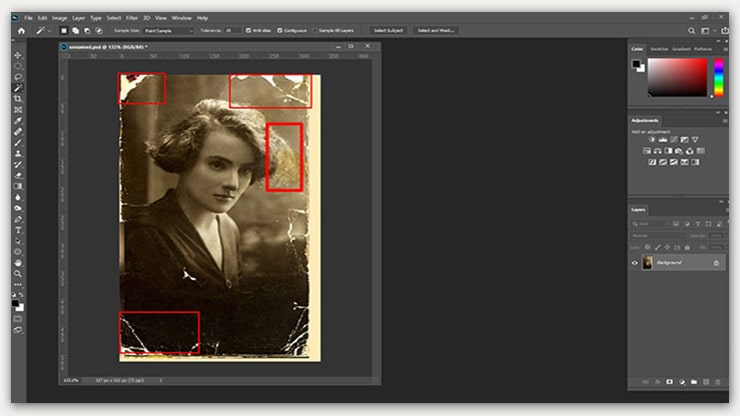
After accomplishing the global adjustment, this image will require the adjustment of levels and curves only. Now, let’s zoom in on the image so that the details can be addressed.
The image has a big tear in the top right corner; dealing with this will be tricky. However, as stated earlier, you can do nearly any modification or adjustment using Photoshop, so restoring this part will not be an issue at all.
We will take assistance from the Clone Stamp Tool. Press the shortcut key “S” on the keyboard. Remember to zoom in when using the Clone Stamp Tool; this will help you work in the damaged area with good visibility.
Clone Stamp Tool will copy the nearby, similar pixel as a sample, and the damaged area will be fixed by it. Start fixing the damaged area from the edges, then go to the middle, and finally go to the top.
Changing the sample area is necessary to fix the damaged area precisely. Remember, tones and shading are unchangeable. Remember to keep a straight edge at the top of the edge. We will crop the straight line later.
Then, we will do a tight zoom-in to deal with the small imperfections of the image. In Photoshop’s previous versions, the Clone Stamp Tool is the best bet for such type of job.
But after the introduction of the spot healing brush, dust and scratch clean-up becomes more effortless. Spot Healing brush can identify the surrounding pixels and cover up minor damages using that information efficiently.
Make sure to zoom in when working with the Spot Healing brush; this way, repairing will be much more comfortable.

Step 04: Get a Clean Edge by Cropping
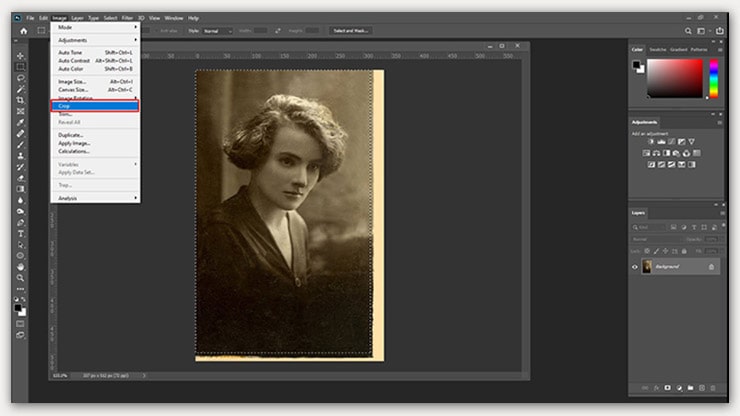
The zoom-in needs to be released once the damage adjustment is finished. Intently looking at the original photo’s scanned copy, you will find extraneous edges that need to be removed.
With the help of the Marquee tool, you can do this conveniently. Also, you will be able to create a clean and fresh edge.
Step 05: Final Result
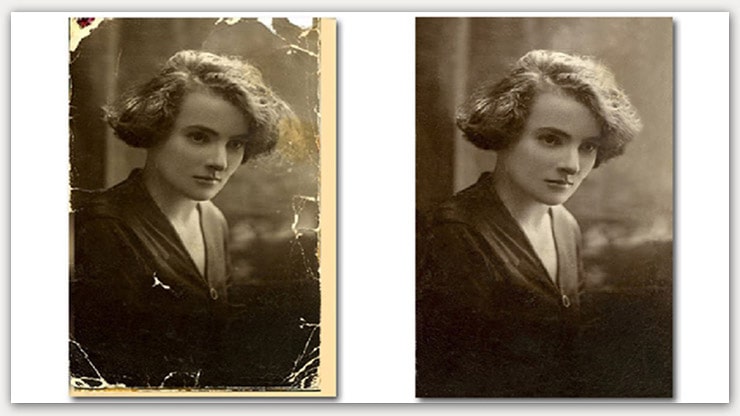
Hopefully, you recovered the image already.
Recovering damaged old pictures will always put a smile on your face. Yet, the people of this image are unknown to me, but they gave me a chance to make my livelihood. That is why spending time to restore a picture is worth the time.
FAQs
How can I start with old photo restoration in Photoshop?
To restore an old photo in Photoshop, you first need to upload your photo to the software. Depending on the quality and condition of the old photo different tools may be used. The first usual steps are to fix the color imbalance, remove scratches and dust, restore faded areas, and repair any damaged areas.
Photoshop continues to be a leading choice for old photo repair because of its advanced AI tools. These tools can repair old, faded, and even damaged photos quite impressively.
Yes, Photoshop uses AI for automatic photo restoration. These AI tools can identify and fix common issues such as loss of contrast, scratches, dust, and faded colors. However, AI can’t yet correct all types of damage in old photos, and some photos may still require manual editing. But overall, AI can greatly speed up the process
Yes, Photoshop is a great tool for restoring old, black-and-white photos. The software provides various tools that can remove scratches, repair faded parts, and add colors if needed.
An average Photo restoration service will cost you approximately $20 to $500. If the image is damaged extremely, you will have to pay $500. Photo restoration requires a skilled hand to deliver an outstanding result; this is the reason it is an expensive option.
If you have a severely damaged photo you want to restore it, consider doing it with a professional’s help. Your old photo will not be restored, but the overall quality and color of the image will also be enhanced.
Restore Old Photos With AI Tool or Photo Restoration Apps
Restoring old photos with AI tools or photo restoration apps has recently become increasingly popular and affordable. These tools use artificial intelligence and machine learning algorithms to repair photographs automatically.
Remember that the restoration quality may vary depending on the damaged photo and the capabilities of the AI tool or app you choose. For severely damaged photos, professional photo restoration services may be required.
Before using AI tools or apps, it’s a good idea to read user reviews and try them out with a sample photo to see which works best for your needs and the quality of your old photos.
Last Words
Everything is simple and simple when you have in-depth knowledge of the subject. With practice, you also can be skilled and experienced in the photo restoration process. An adequately restored photograph will last long years after years.
You may read: