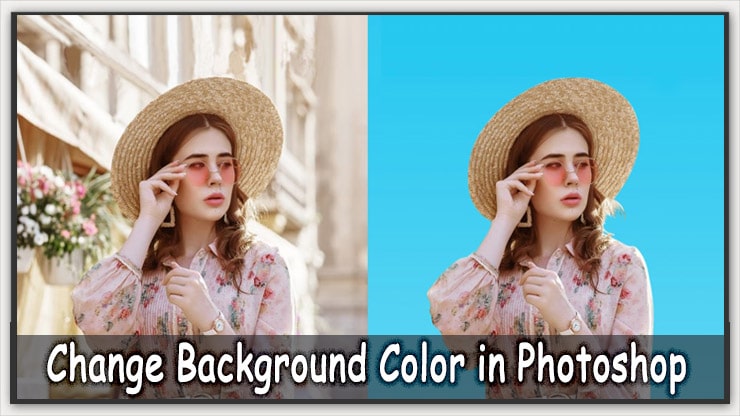
Do you want to change background color in Photoshop? If you’re a beginner at changing the background color of your image, it may seem overwhelming. But Photoshop can make this process easy and even fun!
Photoshop is a powerful editing tool that can help you to change background color easily. This article will show you how to quickly and easily change the background color in Photoshop.
How to Change Background Color in Photoshop (Step-By-Step Guide)
Changing background color in Adobe Photoshop is easy. Follow the step-by-step article and learn how to change background color in Photoshop. You can make your subject stand out by removing or changing the background to a solid color.
Let’s learn how to remove the background color of a portrait, model, or product image using photoshop tools. Change or replace the background of a projected image requires some Photoshop tools,
You can use any selection tool like
- Quick Selection tool,
- Pen tool Photoshop
Hence, selecting any subject using the pen tool is more accurate. So, I will prefer to use that. But, if you are a beginner in photo editing, you can use the Quick Selection tool too.
The image we selected in the next section has an unsettled background. Hence, using the Quick Selection tool is more complicated.
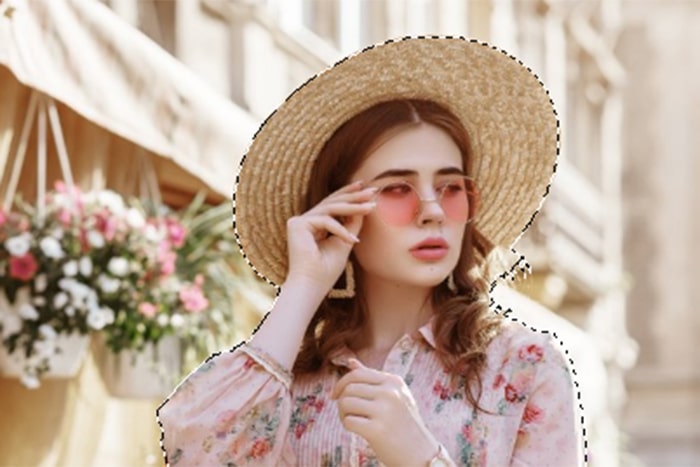
Step 1: Pick your Photo with Unsettled
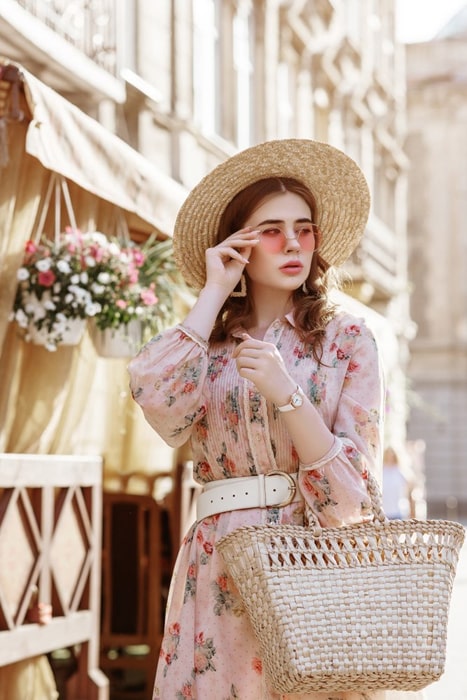
First, you have to choose a photo. In this tutorial, I decided on a simple photo so you can learn quickly. When you take a raw image, it will benefit you to know. If you take a complex picture, then it will be hard for you to learn.
Also, you must abstain from something when separating the subject to change the background color.
- Hair that’s not smooth or spiked, curly, or loose.
- Detailed edges subject.
- Only edges are focused.
- Motion blur etc.
Step 2: Creating a Duplicate Layer
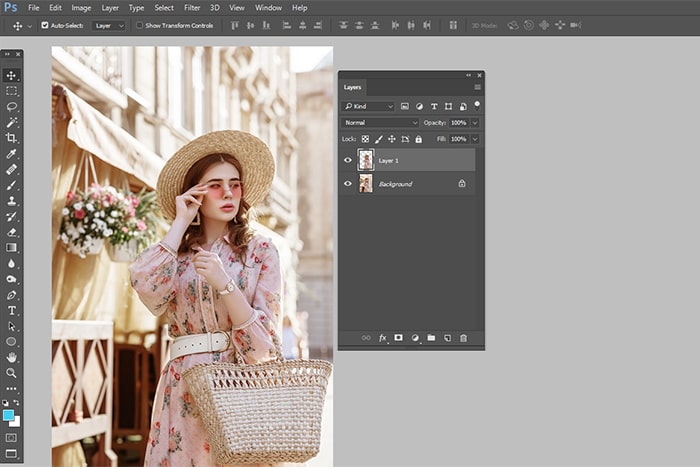
Just open your photograph in Photoshop. After that, make a duplicate layer by clicking Ctrl+j (Win), Command+j (Mac) & Turn off the first layer.
Step 3: Creating a Stable Layer
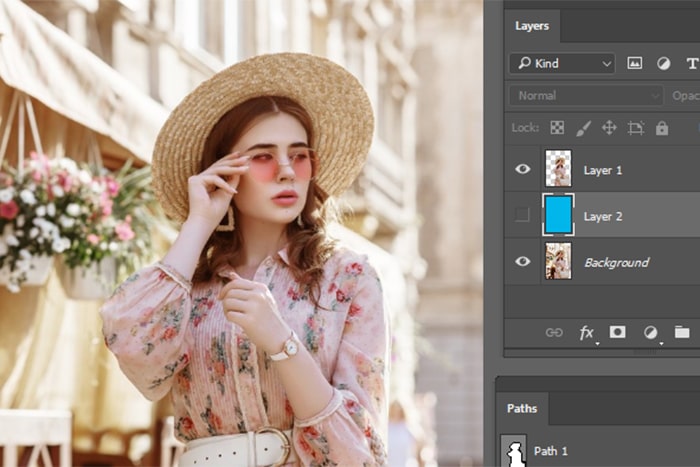
You must create a solid layer by clicking the New layer icon from the layer panel. After that, you can choose any solid color from the top.
Additional tips
While working on a layer in photoshop, you can use the layer name. Because of this, your productivity will be awesome, and Giving a layer name is a beautiful idea.
Step 04: Selecting the Subject
- To select the subject, click on the quick selection tool.
- Then you need to click on the select subject option from the top of the photoshop bar.
- Make sure your subject has to be clear; otherwise dialogue box will appear.
- Your result will be perfect if your subject is clear. You should use other tools to refine the edges.
Step 05: Clean up the Edges
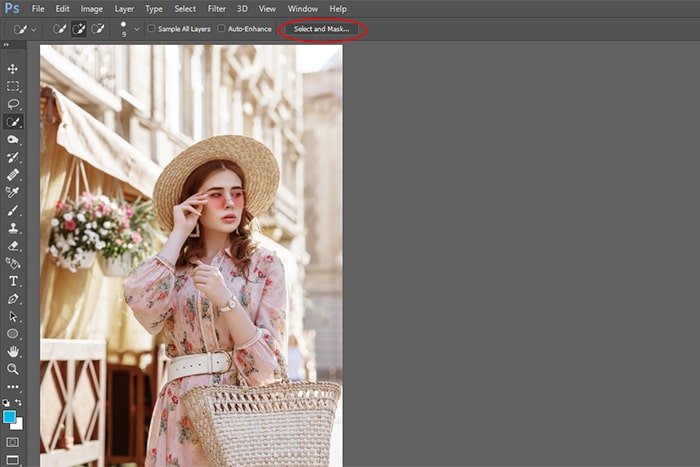
Make sure your selection tool is selected. Now click on the “select and mask ” button. This will open a new window where you can refine your selection.
- Auto-selection tools can only do a complete job sometimes. Then you can use the selection tool to make a better edge on your subject.
- You need to do some work when the subject’ssubject’s edges don’tdon’t separate from the image’simage’s background.
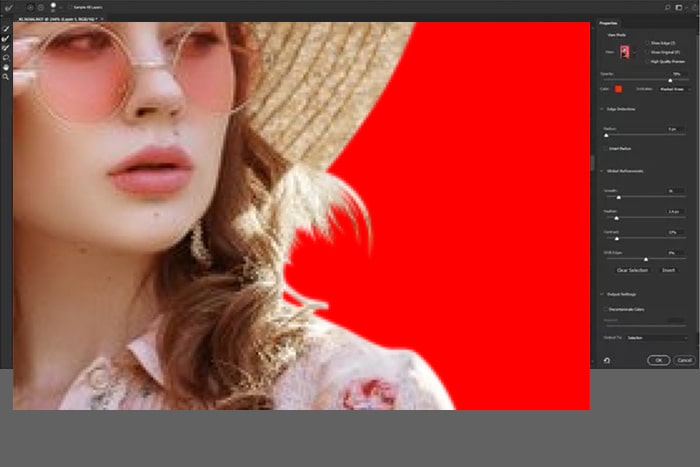
- Then you can use the refine edge brush from the left tool panel, which is on the left side of your photoshop interface.
- When you select the overlay or on white, you can see the impact of this brush. If you want to know the brush effect, choose white or overlay, then you will find/get this option in the view panel.

- An example is the view panel’s 50% opacity of the overlay option. You may only have to do a little work if you choose a clear, defined edges photo.
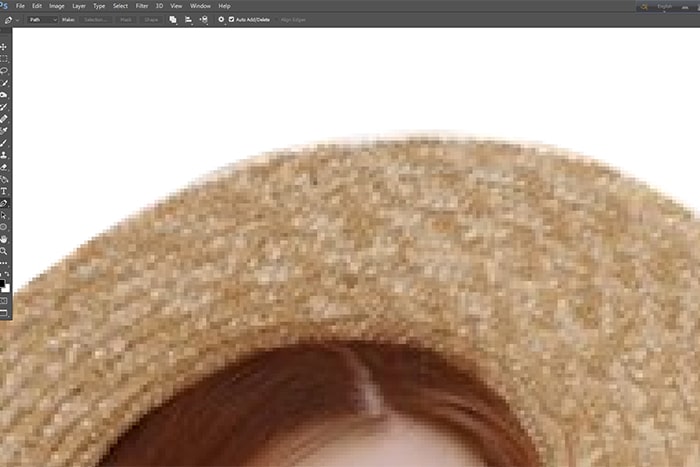
- Then what will you do? Zoom your subject 100%.
- When working on the edges in a clockwise direction, cover your silhouette.
- [ and ] key will help you control the brush size.
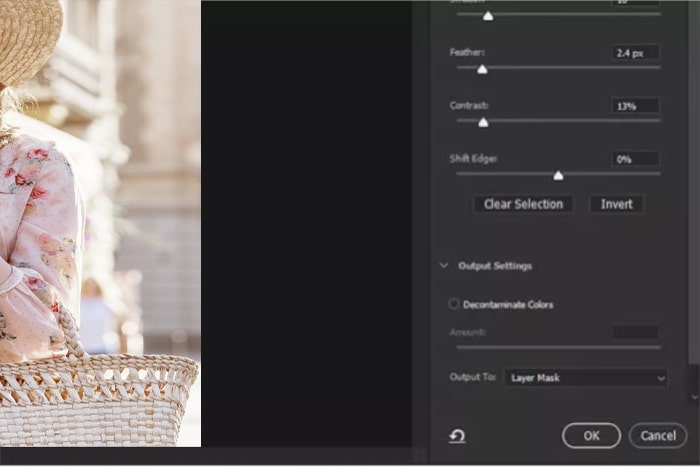
- Moreover, You can control the effect using the Radius, smooth, Feather, and contrast sliders.
- You will find a better balance for the particular areas of your images. Depending on the details of your photos, they will be varied.
If you notice the picture, she has hair, which is the most challenging area to edit. You need to adjust the opacity to see the Variation in the printed photo.
While you are happy that you have cleaned up your selection, turn the view to white and black, and You can see the outlines look like that.
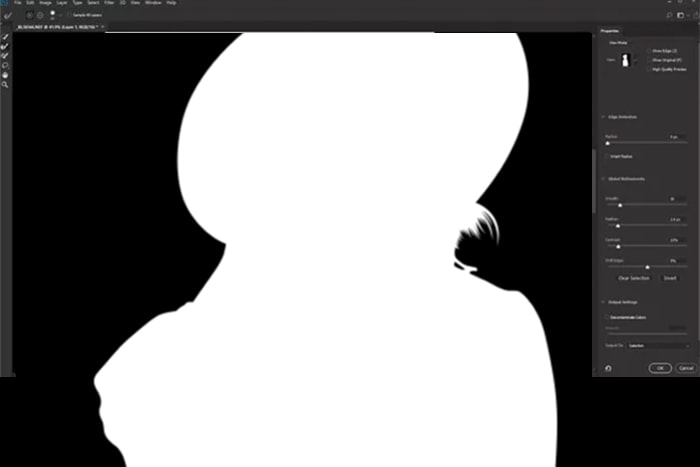
If you don’tdon’t notice further changes, select the layer mask, and click the OK button.
Step 06: Painting on the Layer Mask
You have a new mask on the photo layer already. And If you want to refine other parts of the selection, like fuzzy edges or hair, always use the brush tool.
When you take a shot of a subject, you can see the hair, spiked, or not smooth edges of the subject. Or the subject wears any jewelry which is challenging to edit.
Suppose you don’tdon’t like any parts of the subject. You can erase it. Now, you will set up with 50% black and paint on the subject to delete the unnecessary things, and You can use 50 percent white and paint on a background that is still visible.
If you need precise control, you can use the brush at 50% or lower opacity and the area you work on, which will bring a transparency level. It will help you to get a better look.
Step 07: Select and Separate your Subject
To select the subject, You must click Ctrl on the layer mask; then, you must make the selection duplicate by clicking Ctrl+j. Now hide any other layers so that you can see your separated subject.
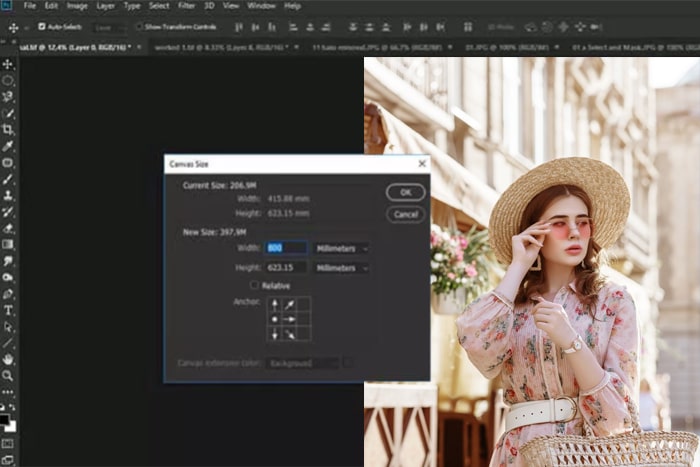
Now, if you want, you can resize your canvas, which will help you add some text to your photo, or make an eye catchy composite image with any other images on the same background.
If you want to change the measurement, you can do it here. To change the measurement, press Ctrl+Alt+c. Now you will see a pop-up on the interface & now type the desired size (width & height) on the box.
The example is down below:
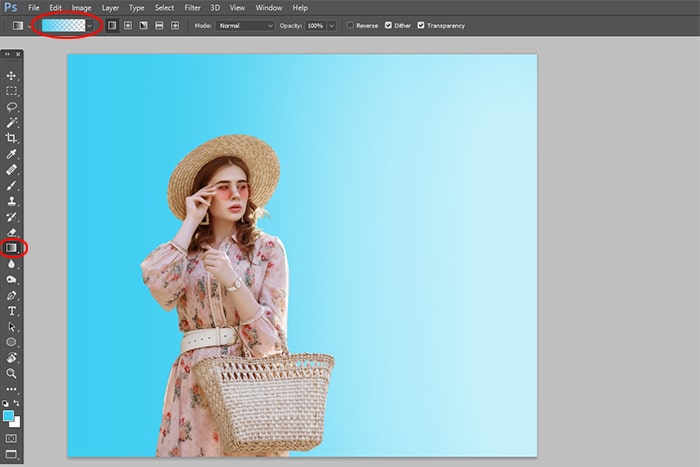
Step 08: Make a Solid Color for Your New Background
You must click on the layers panel to make a new fill layer. However, you must choose a solid color for your unique background.
I selected a Cyan color for the trim of her dress in this picture. It looks good but is a small flat.
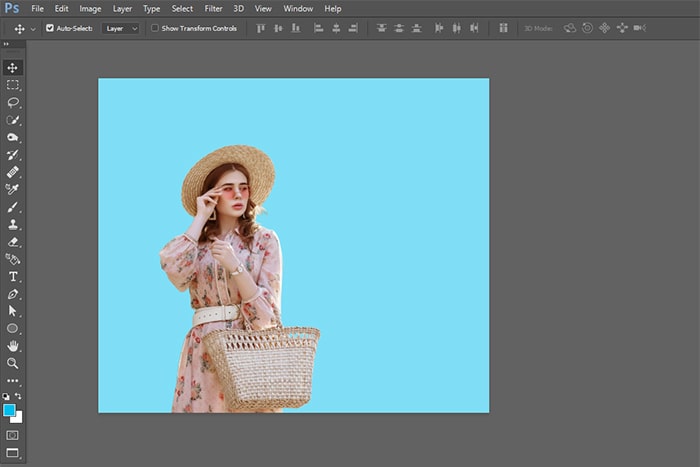
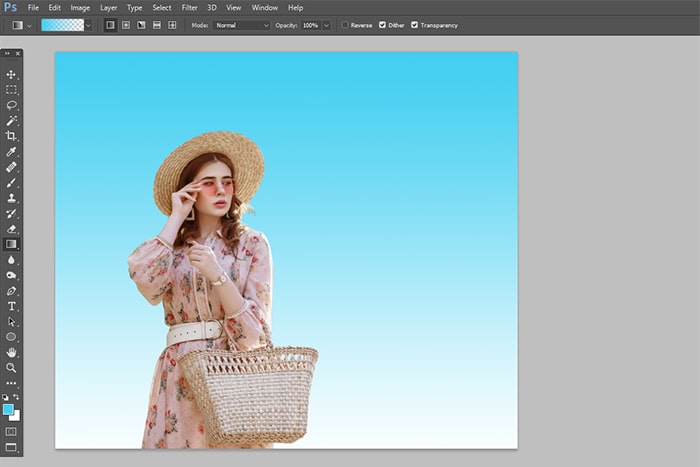
You can add a photo or a gradient background to add some depth.
Make a new layer under the isolated subject to add a gradient, and click on the New Layer icon button from the layers panel. You can use the Gradient tool by pressing (G )from the keyboard to make an exciting/eye-catchy background.
Here are two gradients that I used in the image. It makes the new gradient background’s depth look far better than before.
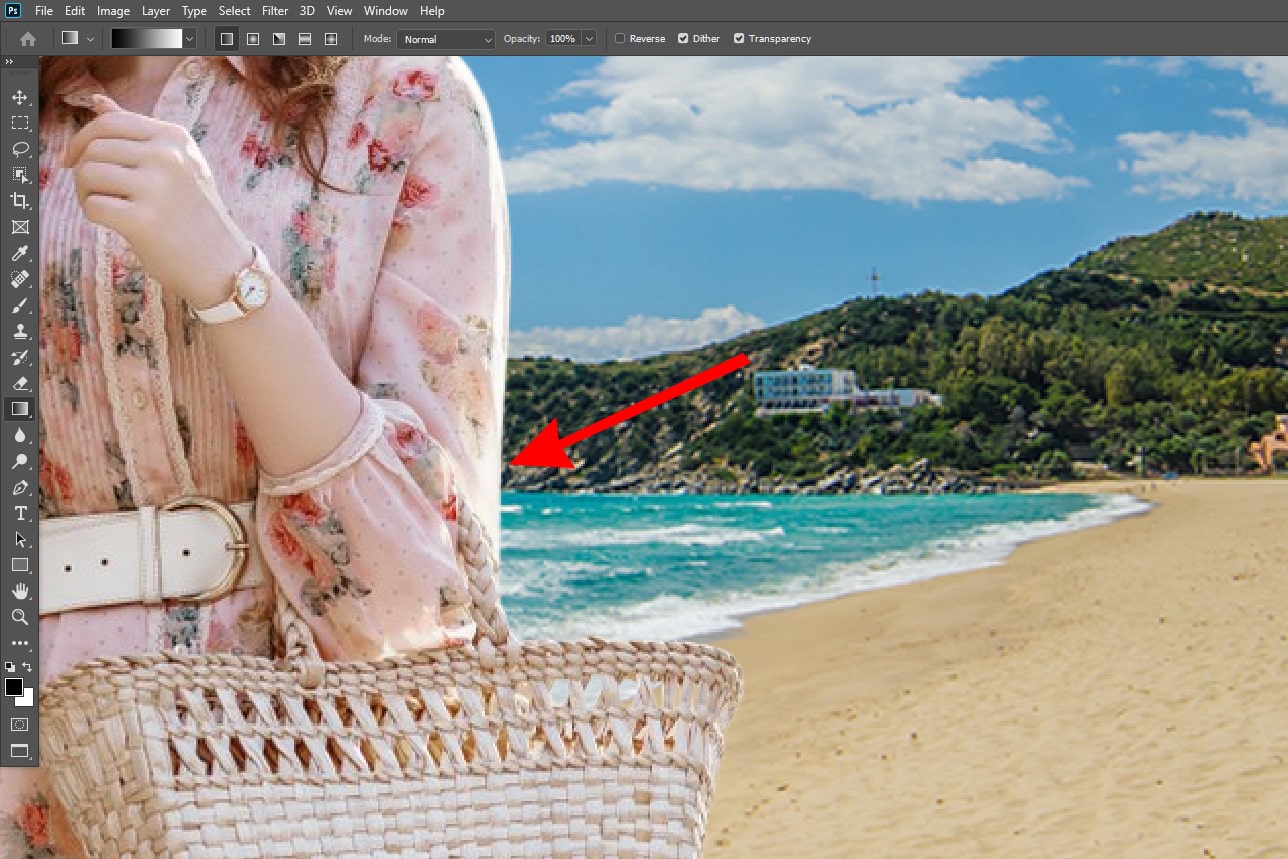
Now you can use any photo as the background. To use another photo as a background, you must create a blank layer and drag and drop your selected photo on this layer.
If your background image is too small or extra-large, the picture will lose its quality or natural look. So, In this case, you must resize your photo’s background to fit.

Step 09: Check for Halos Around the Edges
In this step, you need to make one last check. Zoom your photos 100% and check whether the halo effect is visual.
It will be visible if your new background color is different from your original background. Then you can use the white or black brush to paint over the halo effect, which mask we created in step 6.
Conclusion
How fast you can change the background color depends on your image complexity. If you are a new learner, start with a convenient or straightforward picture, and you can develop your skills by practicing more and more.
Here are some more helpful posts for