Refine Edge is one of the most common photoshop tools in the digital image editing world. However, it doesn’t always work as expected. So, let’s see how to use it effectively in Photoshop.
All you need to do is, click on the Refine Edge icon in the toolbox. Now adjust the tool’s settings using the options bar. Finally, use the tool to apply blur, sharpen, and so on.
Easy, right?
You can’t get any more wrong than this. Though refine Edge works perfectly in all versions of Photoshop, mastering it is a whole new story. So, if you’re looking for a fast and effective way to sharpen your images, then you’re at the right place.
Let’s take a closer look at how you can master Refine Edge in Photoshop. Read more below.
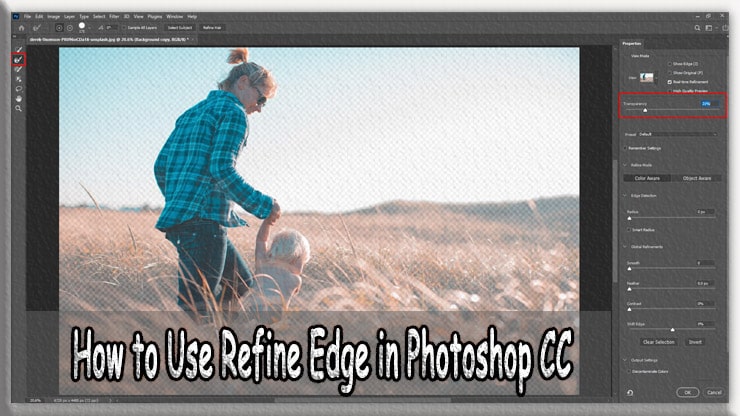
What Is The Refine Edge Tool In Photoshop?
During editing, chances are you’ve had to deal with the dreaded problem of trying to select something with fine details like hair. The standard selection tools just don’t cut it when it comes to things like this. That’s where the Refine Edge tool kicks in.
The refine edge tool can adjust the selection edge, giving you precious control over your selected image.
It turns out that it can automatically create a mask from the selection, which is helpful for flawless photo retouching. But, then again, making selections in tricky situations is much faster and more accurate.
Is making a selection in Photoshop a hassle? This tool is worth checking out.
“Photoshop Refine Edge” vs. “Select and Mask.”
Both of these tools serve similar purposes. However, in 2016, Photoshop included a new “Select and Mask” tool.
It tends to replace the refine edge tool. Moreover, I found it more accurate and quick. However, Adobe hasn’t entirely removed the Refine Edge from Photoshop.
Here, Select and Mask are not the same as the Refine Edge, which the Photo Editors claimed. Later, gave the Select and Mask update in Photoshop CC 2017. In Photoshop CC 2019, also the latest update was given.
Where is the Refine Edge Tool in Photoshop CC?
Though Refine Edge was the best work choice, many editors use Photoshop. Nevertheless, it was not eliminated from Photoshop. Instead, Adobe removed it from the way of access. You can find the Refine Edge in Photoshop CC and the latest version.
When to Use Refine Edge in Photoshop
This tool has several advantages and disadvantages. Like other photoshop tools, you must be careful when selecting a particular feature. Moreover, you need to decide whether a picture is eligible to use refine Edge or not.
However, this is not always an easy task to do. Sometimes, you have to revise the whole procedure. You can use this feature in every image. But, I will recommend you to use it in these conditions-
- When the foreground and background colors are different by margins.
- When working with complex edges, i.e., hair, fur.
- Pictures where there are a lot of blank spots and transitions.
- In those situations where the clipping path is not eligible.
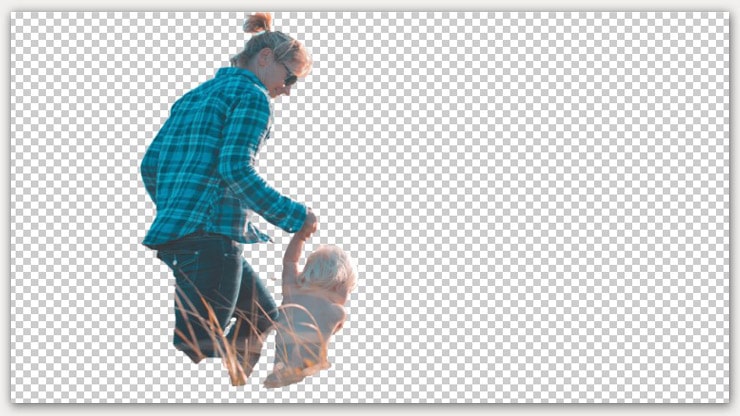
This tool is particularly suitable when you need to remove the background from the image with hair.
The Refine Edge in Photoshop is a dominant opinion that allows you to fine-tune selections when handling complex edges. But unfortunately, most designers don’t understand how to use this persuasive tool. So this can be painful too.
This can be a great alternative to alpha channel masking if you are looking for perfect background changing of complex images like complex edges, fury, hair, or bushes. However, you may need to do some retouching work after photoshop masking.
How To Use Refine Edge Tool In Photoshop – Step-By-Step Guide
Refine Edge is an essential tool to use in Photoshop when you are editing images. However, most users don’t understand how to use the tool. Here is a step-by-step guide on how to use refine Edge from scratch:
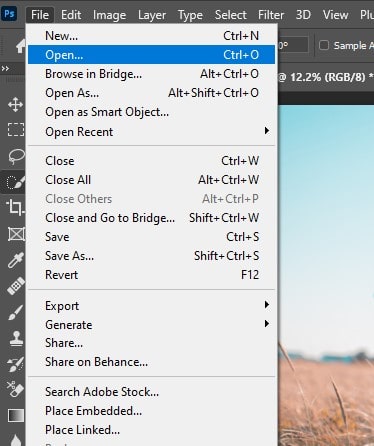
Step 01: Open the Image First
First, open the image in Photoshop that you want to make a selection from.
Go to file, and then hit on open.
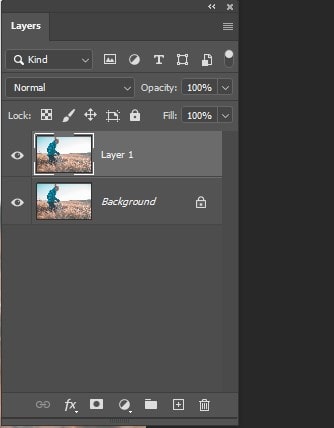
Step 02: Make a Duplicate
Click on Ctrl+J or just right mouse click and then select Duplicate Layer.
Any mistake can cause you to restart completely. So, make a duplicate layer in case anything goes wrong.
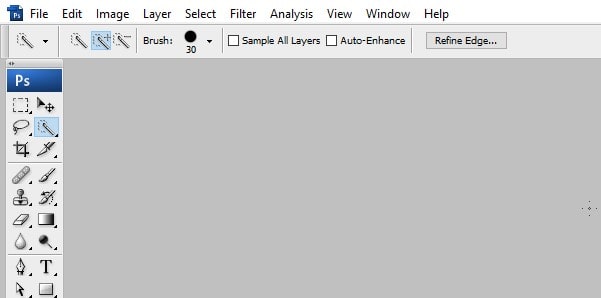
Step 03: Choose the Quick Selection Tool
To use the Quick Selection tool, first, click on the tool icon in the toolbar. Then, click and drag to select the area of your image you want to edit. Finally, release the mouse button when you have selected the area you want.
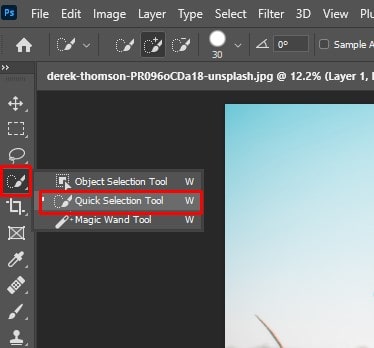
Try adjusting the selection as fine as possible.

Step 04: Select Refine Edge Tool or Select and Mask
After you have made your selection, go to the “Refine Edge” tool. In the newer version of photoshop, you will see “select and mask. This is usually located in the top toolbar.
Older
Newer

Adjust the refine edge/ tab
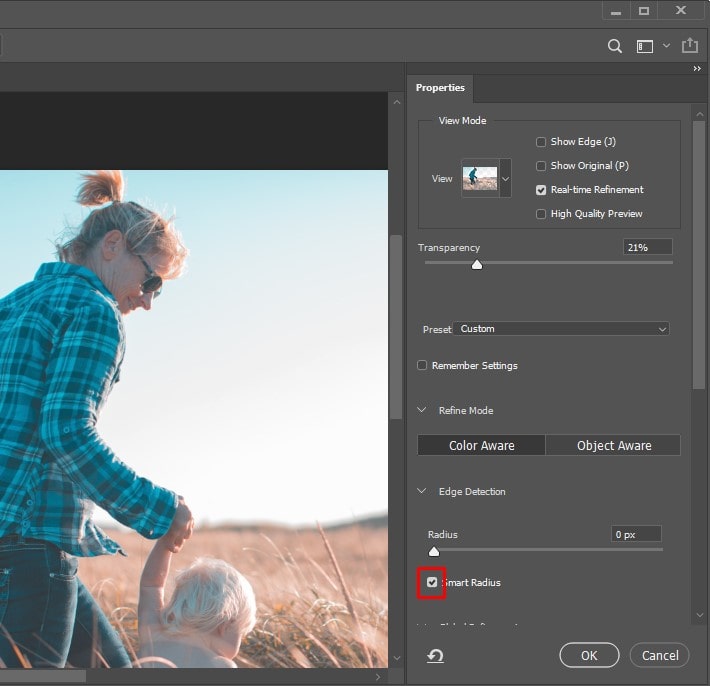
Once you have selected the Refine Edge/Mask tool, a new tab will appear. Here, you can use various tools to refine your selection further.
Pro-tip: Use “Smart Radius” if you can’t adjust the setting correctly.
Step 05: Select the Refine Edge Brush.
Then, use the Refine Edge brush to draw a selection around the area you want to select.
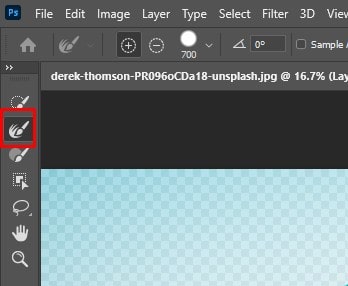
Once you have made your selection, you can adjust the settings to refine the Edge of the selection.
Step 06: Select the Edges Properly
The “Brush” tool is usually the best tool for this. Try using a small brush size and brush around the edges of your selection to get a precise mask.
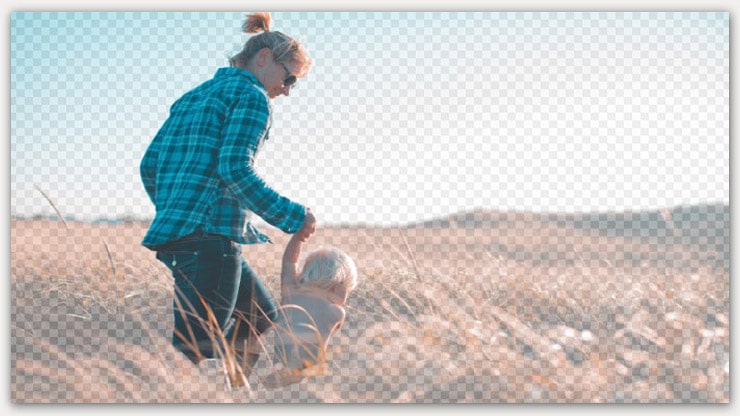
Step 07: Create the Mask
Finally, once you are happy with the selection, you can create a mask from the selection by clicking on the “Output button” button. Now, hit the new layer.

Step 08: Click on “Ok”
After clicking on ok, you will see your selection in a new layer.
Frequently Asked Questions
The “refine edge” tool didn’t go anywhere. However, you can find this tool in the “Select and Mask” workspace in Photoshop.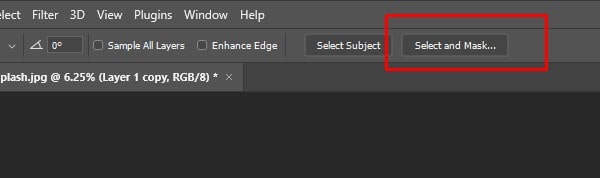
Until Photoshop version 2015, the refine Edge stayed put. However, Adobe changed it to “Select and Mask” afterward. Plus, they added many features and made them easier to access.
Well, you do have the “refine edge” in photoshop. The thing is, it’s now “Select and Mask .”To find it, you only need to select your desired area, and you will see the option on the toolbar.
Final Words
Hope now all your images are sharpened and ready for sharing.
In a nutshell, the refine edge/ select and mask tool sharpen images by selectively reducing the image’s blurring effect. However, it doesn’t remove the noise, so it tends to add more blur than the original file.
We are trying to achieve a balance between removing the noise and adding a blur. The best way is to use it judiciously.
Use the Refine Edge tool sparingly. Only when the effect is needed. For instance, use it for large-sized, high-resolution photographs. Otherwise, use a sharpening filter instead.
You may read: