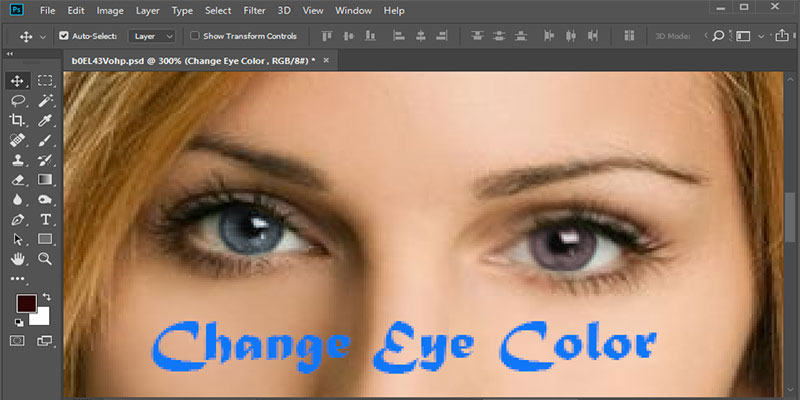
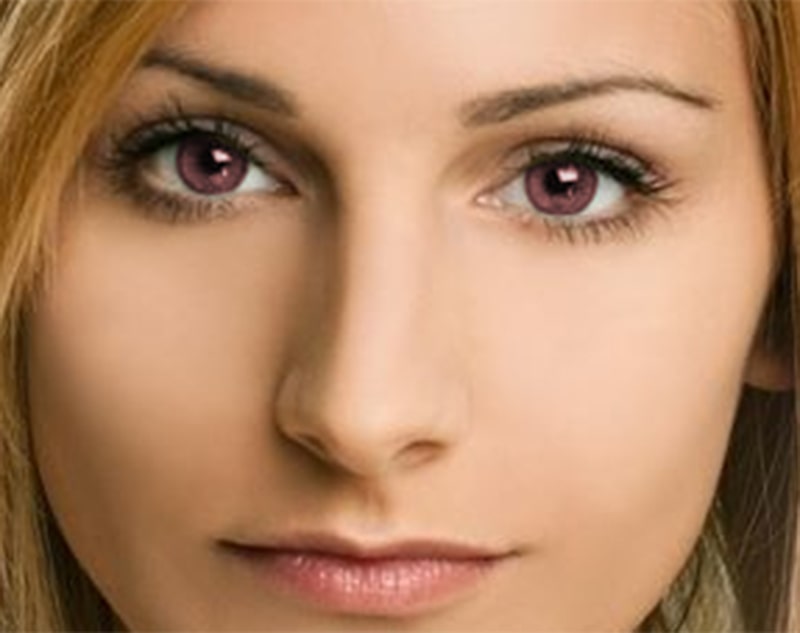
Different eye colors provide a playful vibe towards an image. An image with a unique concept always holds an unusual attraction to people’s eyes. Among them, different eye colors are the most unique idea to attend.
Well! Most people are likely to change their eye colors using Adobe Photoshop. Yet, many people are still confused about how to give different eye colors using Photoshop.
Today, in this content, I am going to clear the knowledge about how to change eye color in the Photoshop tutorial in 2021.
As you can already see that this content is a tutorial with text and images, thus you will get a clear visualization of how to give a unique color to eyes. Follow the instructions of the tutorial down below, along with the image, and start your work on your computer.
Step By Step Procedure of Changing the Eye Colors Using Adobe Photoshop
Following this tutorial, you can easily change the eye color using the proper adjustment of saturation/hue with Photoshop. Well! Working with the adjustment layer isn’t that difficult. In fact, it is fun to edit the layers with multiple tools of Photoshop.
Over here, I used Adobe Photoshop CC to edit the eye color and provide the tutorial. You can also use Photoshop CS6 with this tutorial as it is totally compatible. Let’s check out the steps:
Select an Image with a Clear View of the Eye
Before you start editing a picture, you must choose a proper image first. Select a picture that has a clear view of your eyes, and the image is not blurry.

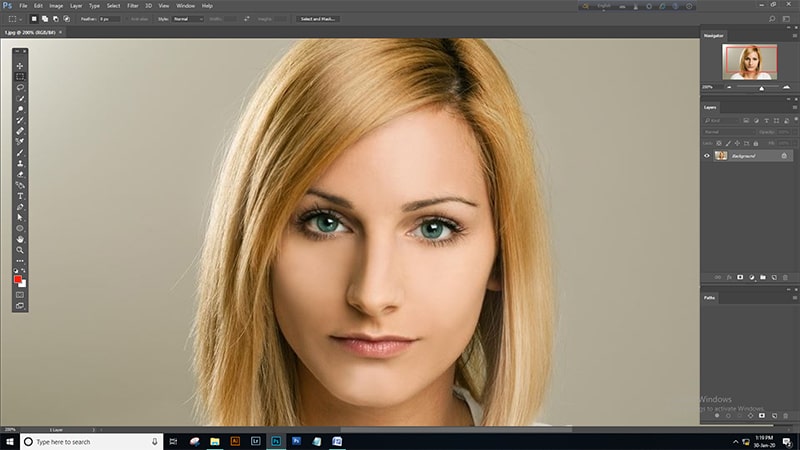
Make ‘Eyes’ the Subject by Zooming on the Eyes
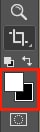
Once you upload the picture on the Photoshop software. Zoom on the eyes and make the eyes a subject to work with. You can zoom the picture using the zoom tool. On the Toolbar, you will find the zoom tool. Or use shortcut Command/ CTRL +.
- Firstly select the zoom tool,
- Then, click multiple times between the two eyes to make both eyes a subject.
- Once, you zoomed enough, then you can centralize the eyes part using the “Hand Tool.” Press “H” from your keyboard and then drag the image according to the position that seems perfect for you. See the image below…
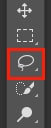
Use the Selection Tool (Lasso Tool)
Lasso tool provides a selection of a portion to get the edit, without hampering the surrounding that is out of the selected portion. You will find the Lasso Tool on the Tool Bar as well.
Make a Selection Outline, Circling the Eye Balls
Select the Iris only. Don’t circle the entire eye. If your outline is not precise enough, then don’t worry. You can also make it precise after on while editing.
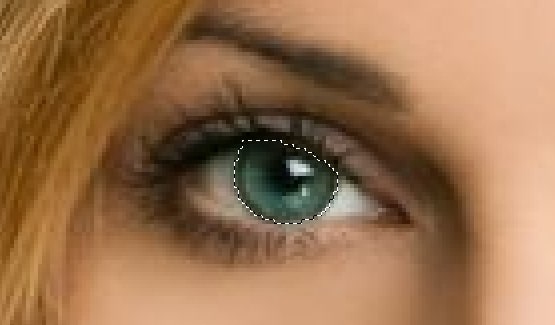
After that, when you select the first eye, hold your keyboard’s “shift key.” When you are holding the “shift key,” you will see a “plus sign (+)” on the Lasso Tool Cursor’s bottom right portion.
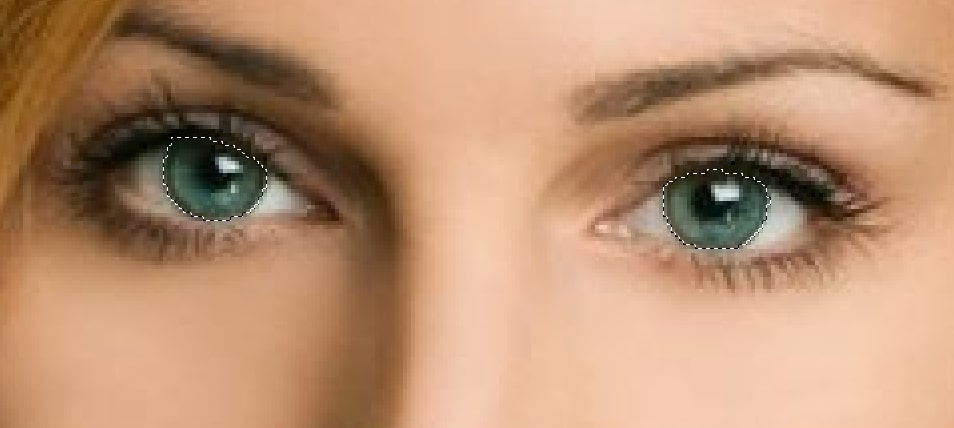
Adding another selection to the previous selection in Photoshop is done by holding the shift key. Once you are done with one eye. To select the other eye in the same way, follow the same steps I mentioned.
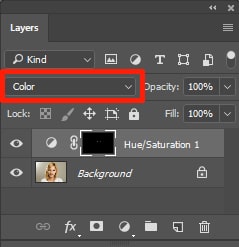
Consolidate the Adjustment Layer of Saturation/Hue
The best easy way to change the color of your eyes using Photoshop is by using saturation adjustments layers over your eyes.
Click the ‘Adjustment Layer or New Fill’ icon that you will find on the Layers panel. This is how you have to add adjustment layers to your image.
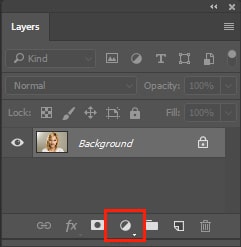
Once the list pops up, choose the “Saturation/Hue” option from that list:

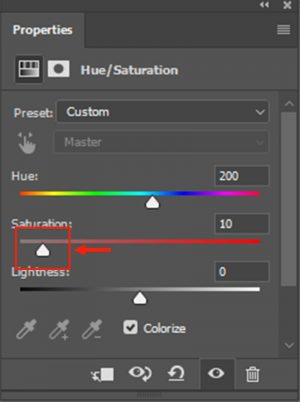
Apply the Option “Colorize”
Have a look at the “Properties Panel” of your Photoshop software. You will find the control settings option of the adjustment layer of Saturation/Hue.
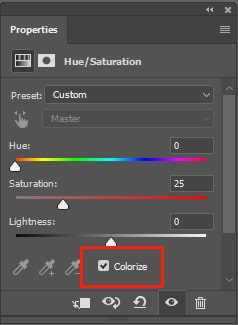
Once you find it and click on the colorize option, you will see that your image’s eyes will look red. If you are going for red, then done. But if you are not looking for a red color, then follow the next procedures to change the eye colors.
Using the Hue Slide Change the Color of the Eyes
If you are a designer, you should have known the Hue Slider. Dragging the “Hue” Slider will ultimately change the color of your eyes according to the color you place the pointer of the Hue slider.

The slider starts with the red color from the left and includes the colors yellow, orange, aqua, blue, etc. The slider holds the color in the rainbow pattern with a white pointer to fix a single color.
When you are dragging the pointer on the slider, you will see the same color on the eyes of the image.
Modify the Saturation Value According to Make the Eye Color Natural
When you choose a particular color on the hue slider, the color will be placed on the image object’s eyes.
But to make it intensive or dark, you have to use the “Saturation” slider. Move the slider to make it look natural until you are satisfied. One hint for you: Saturation value between 10 to 15 works entirely according to all kinds of images.
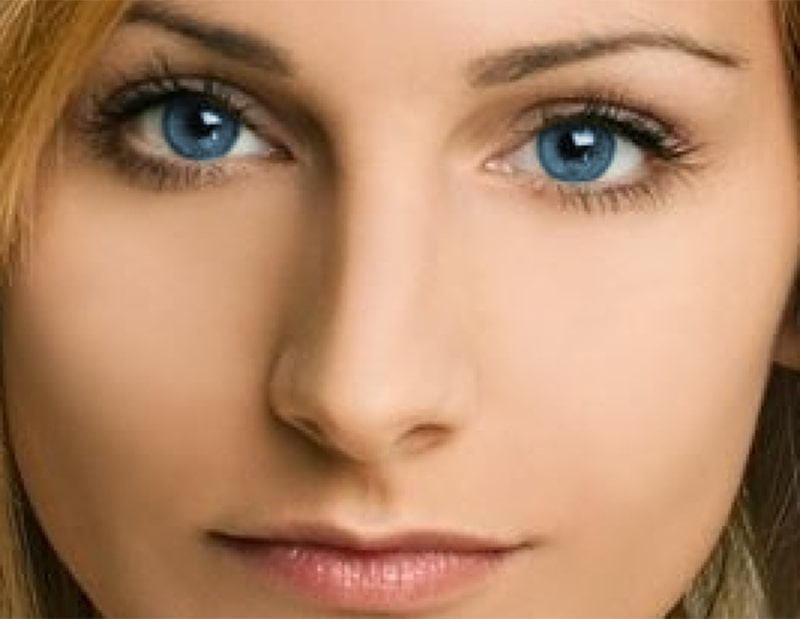
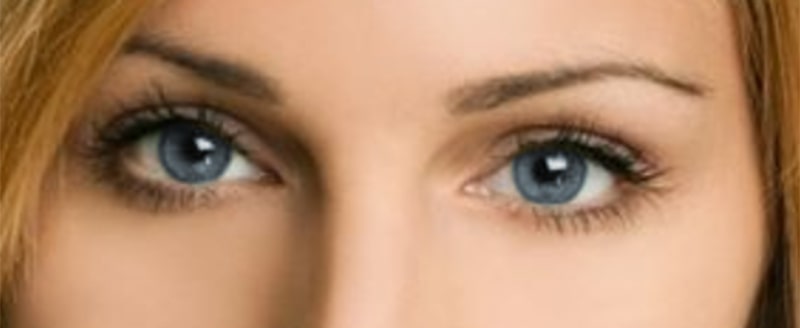
This is how the eyes look after and before saturation increases.
This is the output, I got after lowering the saturation-
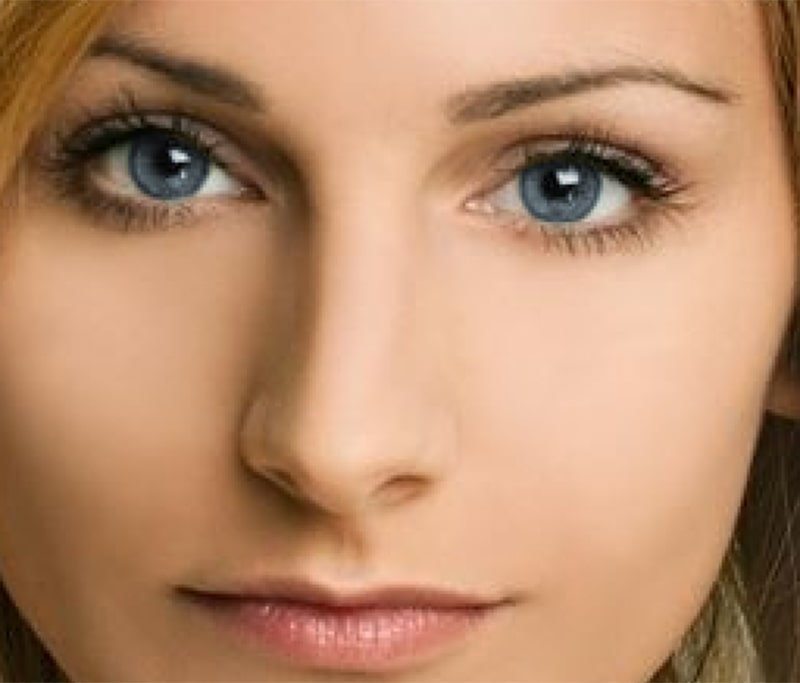
Use the Color Mode via Changing it From Blend Mode
Blend mode not only reacts with the color of the eyes, but it also increases the brightness of the eyes. Ultimately, it is damaging the image’s eyes. To prevent that you just have to set the blend mode to “color” mode.
But by default, the blend mode of the adjustment layer’s stays at the normal level. You will find in the layers panel that the Saturation/Hue adjustment layer is on top of the background layer’s image.
After switching to the Color mode, you can now see the details of your eyes along with the different colors and nice finishing. This mode helps you keep the details of the image’s eyes with a different color that you will select.
Have a look at the result:
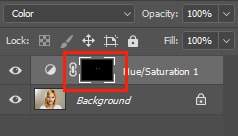
Take Advantage of the Layer Mask
When you use the adjustments layer of the Saturation/Hue, at that time, Photoshop itself uses the layer mask. On the layers panel, you will find the “layer mask thumbnail.”
You will see the thumbnail will be completely black with some narrow white spots. Well! The entire black color means that you don’t use any saturation/hue effect over that whole image.
Whereas, the white dots means the places you worked with the tools. This is how you can understand where you made the use of tools and where you didn’t.
This tool is mostly used by designers who work for image optimization. Want to know about “how to optimize images for web”? Have a look at my website, you will also find it, or you can also search it on google.
One more thing to remember is that whenever you select the layer mask thumbnail, make sure a border with white highlighting wraps around the thumbnail. It means that the thumbnail is now in the select or working zone.
Therefore, when you are working with the layer mask, make sure you clicked on it and make the highlighted border visible.
Clean Up Flaws by Applying the Brush Tool
Once everything is done till now, you can zoom the image to its eyes. And make one of the eyes centralize to the frame by zooming.
Sometimes you will also see that the color extends itself and gets into the white parts; sometimes, it also involves the eyelids. Well! It will give a bad finishing to the image. This technique is known as color correction.
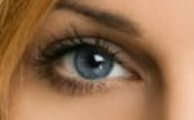
You must clean up those areas to make the image, or the eyes look real. And that is how you will do with the brush tool. On top of the mask layer, you need to do some painting to get rid of those extra portions. You will find the “Brush Tool” on the Toolbar. So just select that tool.
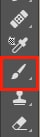
If you are an experienced designer, you must know how important is that brush tool? Designers under clipping path work mostly use the brush tool. Well! Clipping Path is also a big portion of Graphics design. Do you want to know about “how to create and use clipping path in Photoshop“?
Set the Black Color on the Foreground Color Option
In our Photoshop, the “foreground color” is set as a brush color by default. But to remove the extra portions around the Iris, you need to provide a “black” paint.
Yet, press the letter “D” from your keyboard to reset the color composition. And in the default settings, the foreground stays white color whereas the background color changes to black.
But you need the black color in the foreground. The great thing is that you can easily swipe the color from foreground to background and also background to foreground. All you need to do is just press the letter “X” from your keyboard. It will automatically swipe the color.

On the other hand, it is another easiest way to change backgrounds. On the other hand, if you really want to work with background color or looking for “how to change image background color in Photoshop“? Then don’t worry! You will also find that tutorial on this website.
On Both Eyes, Put the Paint around the Iris
The last step to give a completely new color to your eyes is just by painting around the Iris and clean up all the problem portions. The precision output comes from a small as well as soft brush. Thus use the soft and small brush mode to bring a good result.
You can change the size of the brush with Keyboard Keys of “[“and “].” And when you will press and hold the shift key and then use these “[“and “]” keys, then the edges of the brush will become soft and hard.
The fun thing is, while painting on top of the layer, you won’t be able to see the color. In fact, the color automatically gets vanishes from the painted areas.

Wrapping Up – Finishing Up the Work
There you go! That’s quite easy to change the color of the eyes in an image. All you have to do is just play with the saturation/hue and adjustment layers in Photoshop.
If you want to learn more about photo editing, you can read…
- How to Optimize Images for Web (Brief Guide)
- Easy Steps for Sports Photo Editing in Photoshop [ Pro Tips With Images]
- Professional Product Photography & Post-Processing Tips for Beginners
- Photoshop Liquify Tool Guide: How To Use the Liquify Tool
- Photo Editing for Magazine: Everything You Need to Know
Final Tips on Changing Eye Color in Photoshop
Well! Those of you who are curious to get the procedure about “how to change eye color in Photoshop”? This content was is for you. With text and images, I provided the complete tutorials to change the color of your Iris in an image.