Selecting big areas of an image can be difficult. You can invert a selection in Photoshop to simplify the process. In the realm of Editing Photos, object selection is a crucial step. Focusing on isolated regions of an image is a general norm.
This tutorial will teach you how to invert selection in Photoshop. A selection in this situation guarantees limited modifications. A reverse selection is often necessary. It’s also worth discussing.
Most people who enjoy editing photos use Photoshop because it provides many different tools. To what extent do you identify with them? You’ll find this content to be beneficial, so relax.
What is inverted selection in Photoshop?
Knowing what an inverted selection in Photoshop is necessary to invert one. A line of moving ants indicates a selection. It indicates the desired region of your image.
The selection process can make contrast and color modifications. This can even mix several photos.
The tower is notoriously difficult to pinpoint with any degree of precision. More elaborate portions of the tower should have been included in your choices. It could look better when you cut it out. Yet, in this case, reversing a selection shines.
The background in the image is a very consistent shade of blue. You can easily compare it to the modified version. Using the Magic Wand, it’s easy to select the sky.
Firstly, select the sky and then flip the selection. This selection will be flawless. You can easily remove the tower. You can also make a layer mask or any other modifications.
How to invert selection in Photoshop?
Consider investing in a professional editing software program. If this sounds like you, you may be thinking about how to invert selection in Photoshop. Find out these three easy ways to instantly invert things.
Invert Selection with Keyboard Shortcuts
Step-1: Firstly, open Photoshop. Import an image from your desktop. Then, create a new layer.
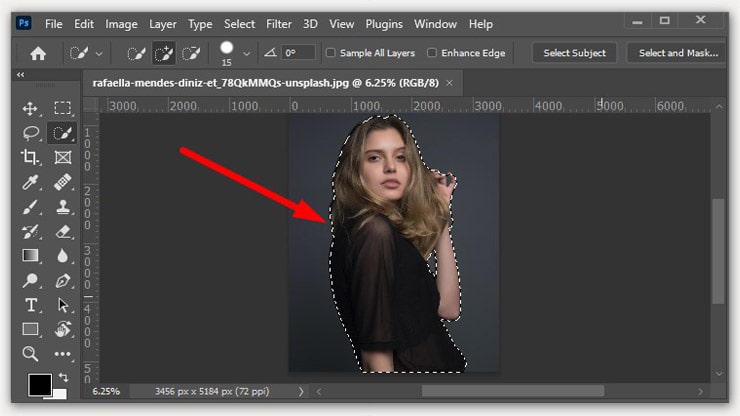
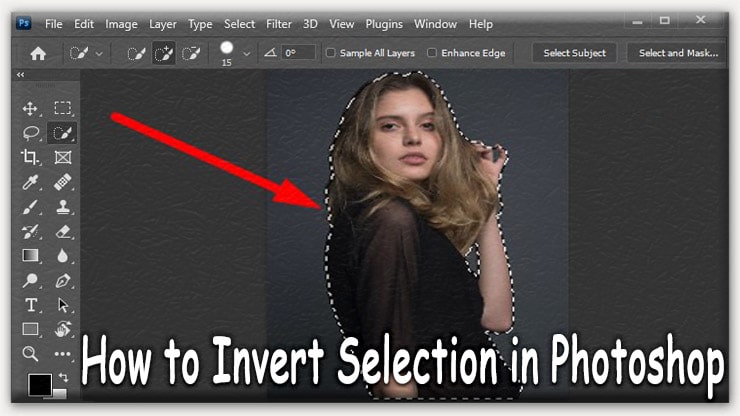
Step-2: You can use any selection tool. You can even use a pen tool to make a perfect selection. If you use an updated version, you can automatically select the object. But make sure the selection is complete.
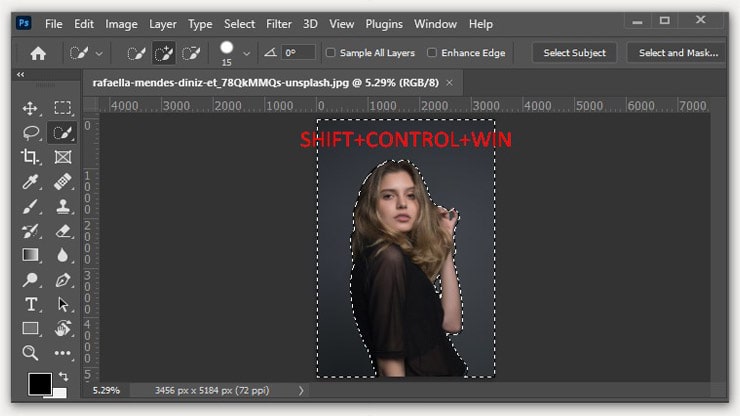
Step-3: As you are done with the selection, now it’s time to invert. Press Shift+Ctrl+I on windows and Shift+Command+I on Mac. It will make a reverse selection of your object.
Step-4: You can cut out the background. You can do whatever you want. It helps a lot in editing.
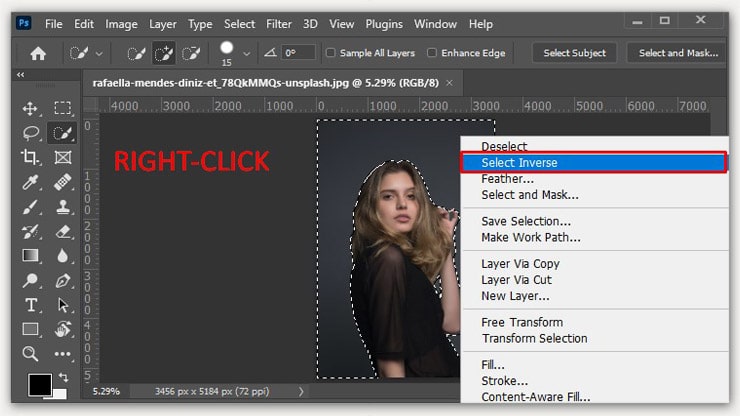
Invert Selection in Older Version of Photoshop
Only use the above method if you have the older version. All you have to do is to open your image in Adobe Photoshop. Then right click of your mouse will open a dialog box. Then click Select Inversion. You can try this method multiple times. It will be necessary for perfection.
Fast and Easy Invert Selection with The Menu Bar
First, import your image. From the menu bar, click on Select. From that menu, you will find the Inverse. Click on that. It is super easy to generate.
Tips for Inverting Selection in Photoshop
- Refining a selection before inverting it may be necessary. If you have made a complex one, such as selecting a person’s hair, try to use it. Using the Refine Edge option from the menus will do the trick.
- If you want to invert a layer’s selection, ensure the layer is selected in the Layers panel. Then, you go to Select > Inverse.
- Another option is making and refining your pick in Quick Mask. Click the Quick Mask button or press the letter “Q” to activate the mode. Painting the area you wish to pick using the Brush tool in Quick Mask mode. You may then fine-tune your selection with the Refine Edge button.
Practical Applications of Inverted Selection in Photoshop
Photoshop’s inverted choices have many real-world uses. Such instances are as follows:
Adding Background Blur
You can apply a blur filter to the backdrop of an image. You can leave the foreground unscathed. Moreover, you can do this by inverting the foreground selection and applying the filter. Then deselecting the inverted selection.
Changing the Background
Changing an image’s background is a common use case. The image’s background is replaceable. Firstly choose the topic, inverting the selection to include everything but the subject. Finally, add a new background.
Applying Color Correction
You can create an adjustment layer. You can adjust the color and brightness of the image from here. to add some effects as well.
Adding Textures and Patterns
First, Choose the subject and invert the selection. Then, fill the backdrop with the texture or pattern. Finally, deselect the inverted selection. It will apply the texture or pattern to the background of the image.
Creating a Composite Image
Inverting a selection can be helpful when making a composite image. You can flip the selection of specific regions. It will give you a smoother transition between the photos.
In Photoshop, inverting selections can help you to make your images. The image will be both more intricate and more striking. When editing photos, this method gives you more leeway and flexibility. You can selectively apply effects and edits to different regions of the image.
Troubleshooting Common Issues with Inverting Selection
Photoshop makes it easy to invert selections. But some frequent issues can arise. Here are some suggestions for fixing these malfunctions:
Inverted Selection Does Not Include All Desired Areas
You can use the Marquee or Lasso tool to choose more regions. You can do it before inverting the selection. Moreover, you can also do it if the inverted selection doesn’t include everything.
Inverted Selection Includes Unwanted Areas
Use the Marquee or Lasso tool to remove unwanted regions from the selection. You can also utilize the Quick Selection tool to isolate the regions you wish to invert.
Inverted Selection is Not Visible
No changes were made if you have inverted the selection. Then, check to see if the selected layer is locked or hidden. The layer’s blending mode is another thing you should double-check.
Inverted Selection is Too Jagged
Sometimes, the inverted selection’s edges are rough or jagged. You can use the Refine Edge function to improve the appearance. Softening the edges is also possible by adjusting the Feather settings.
Inverted Selection is Too Small or Too Large
Use the Choose menu to adjust the size of the inverted selection. The Expand and Contract buttons allow you to modify the selection size.
Inverted Selection is Inaccurate
You can use the Select and Mask tool for better results to adjust the areas of the object with the selection’s borders. You can see the changes in real time with this handy little tool.
This Photoshop tutorial will show you how to invert selections. Follow those tips to avoid common pitfalls so your final product looks exactly like you imagined.
Conclusion
Finally, editors might benefit from this How to Invert Selection Photoshop article. By inverting a selection, you can focus on just the sections of a picture that need tweaking. You can also use it to separate elements for additional editing. It is also used to provide unique visual effects.
It only takes a few clicks and minimal effort to reverse a selection. Creating an inverted selection is as simple as selecting the appropriate tool.
Going to the menu and selecting “invert selection.” The ability to invert selections is a powerful tool in Photoshop. It can help improve the work of both amateurs and professionals alike.
You may read: