Learn how to edit newborn photos in Photoshop and preserve memories of your infants to create a vibe of happiness in the future.
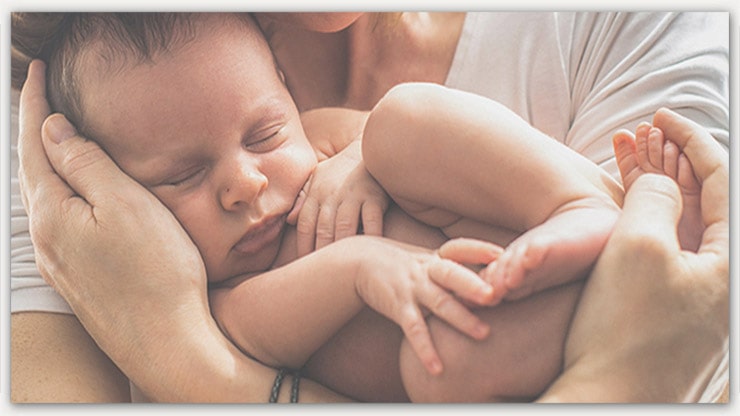
When a newborn sees the first light, it is a forever cherishing memory for the parents and the family. The newborns are the most precious ones, and they create a vibe of happiness with their appearance.
They want to preserve the memory in the form of a picture of their newborn baby. Newborn photography always helps in this regard. A newborn photographer may show his shutter speed in studio lighting.
But in a newborn session, the raw images won’t look attractive. But those pictures need to be attractive, so a proper newborn photo editing process is highly required.
Photoshop is the medium for retouching newborn images and provides an appealing look. To complete the task, gathering knowledge about how to edit newborn photos in Photoshop is essential.
There are various sections for editing and retouching an infant image. All these are crucial to gain the best possible editing output, from background removal to shape and exposure fixing.
Remaining careful while editing a baby image is the most important thing. Rechecking every angle and part is also required to edit any baby image.
The list of the methods to follow for getting the job done is also quite long. When the editing is done, the result will be marvelous if you can apply all the tools and techniques perfectly.
Now, let’s take a deep dive into the section on what you can do to enhance the look and appearance of a newborn photo:
Why Edit Newborn Photos
When a child is born, it is a matter of great delight for the parents and the family. They come with a bunch of joy and fill the environment all around with happiness.
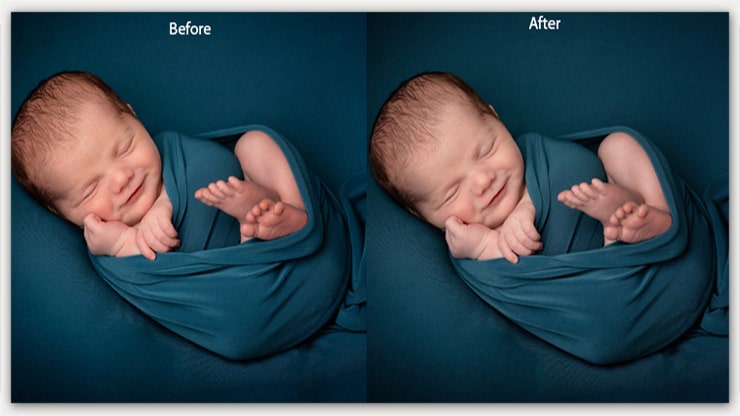
Many parents preserve the precious memories of their children by capturing images from their newborn ages. But in most cases, the raw images are dull, even if they contain precious infants. Your joy will decrease when you see the wrong color, fading skin tone, or blurry image.
To avoid these unwanted things from happening, edit newborn photos. The editing process contains different methods to enhance the infant’s appearance in the image.
From background replacement to image manipulation, all are possible by using Photoshop. You can make the color correction through editing and fix the over-exposure issue in the newborn pictures.
The baby images will achieve a shiny look and become more attractive and catchier.
As parents, your heart will be happy to see the nicely edited and retouched newborn images. Your kids will cherish the memories of being born as they will see their newborn baby pictures.
Why Use Photoshop to Edit Newborn Photos
Photoshop is the most versatile and flexible software to edit newborn photos from every section. The newborn baby photos are no different, as Photoshop offers many tools and methods.
Gaining knowledge about those tools and techniques will help the retouching process achieve the perfect result. That’s why you should learn more about the tools and their works to get a good idea about editing infant images in Photoshop.
Background replacement and color correction are simple and require barely any hassle. Baby image manipulation is also not challenging if you are skilled in this sector.
Photoshop is the best medium for editing as you can do color correction and exposure fixing smoothly. Smoothening the baby’s skin tone or eliminating unwanted spots is also effortless in Photoshop.
When editing newborn photos via Photoshop, the result becomes perfect from every angle.
The Benefits of Editing Newborn Photos
The images of the newborn child provide lifelong cherishing memories for the parents, family, and the kid itself. So, this important part of the memory lane needs to look as stunning as possible.
For this reason, editing newborn images play a significant role in preserving delightful memories.
There are some other benefits of editing infant images, and those are:
- Shiny and polished look of the baby images
- White balance adjustment
- The skin tone of the baby becomes creamy, which is an enhanced version of the actual scene
- Elimination of the blemishes and dark spots from the newborn images
- Through the editing process, you can get rid of the unwanted backgrounds from your baby’s images
- The opportunity of adding fairy-tale-type backgrounds to your child’s images for a different look
- It will help to gain a soft and refreshing look to the image
- The quality of the whole newborn image will increase
How to remove Blemishes from Newborn Photos
Blemishes from raw infant images can be stubborn and make the image appear less attractive. That’s why eliminating them is highly crucial for the retouching process. Let’s see the steps for removing blemishes from the newborn photos:
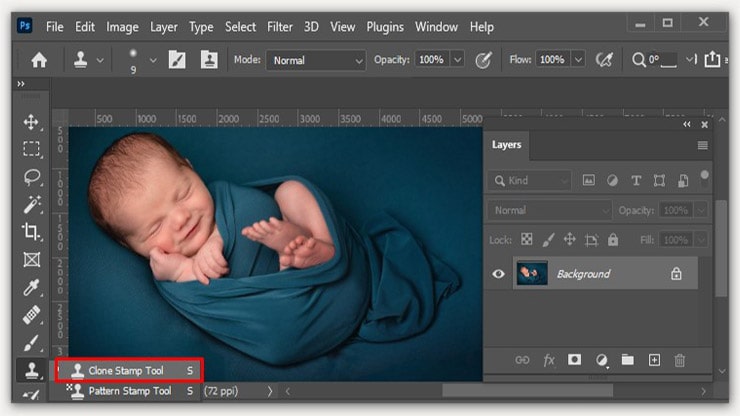
Access to the Clone Stamp Tool
After importing the newborn image into Photoshop, you need to locate the “Toolbar” on the left side of the Photoshop window. On that “Toolbar,” you will find the “Clone Stamp Tool” in the upper-middle portion and click on it to access the tool.
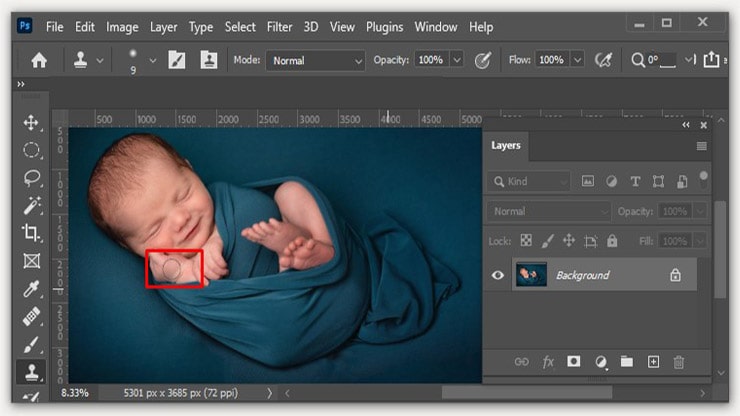
Applying the Clone Stamp Tool
After accessing, apply the “Clone Stamp Tool” on the blemished areas to replace those. Drag the mouse cursor on those areas while the “Clone Stamp Tool” is selected. It will smoothen the tone of the newborn skin by removing all the spots and blemishes.
Control Opacity
After removing the blemishes, you need to control the opacity of the image layer. From the “Layer’s Panel,” set the opacity to 40% by dragging the slider beside. This action will eliminate all the redness, flakiness, splotches, and other spots from your child’s images.
How to Reduce Redness from the Baby Skin
Baby skin usually stays a bit reddish because of the thin layer of skin. It shows the color of the blood, and thus, the dry skin looks quite red. Because of the high-resolution image clicking, the hue in the image becomes more intense.
The raw images contain a reddish tone and increase the image’s redness, which needs to be reduced. The steps for reducing the redness from the photo are:
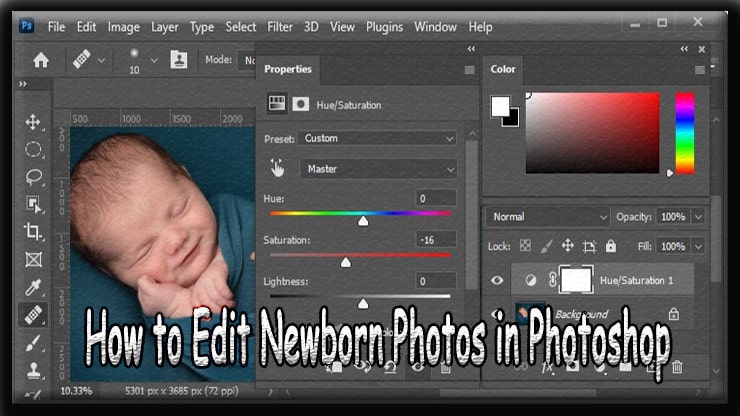
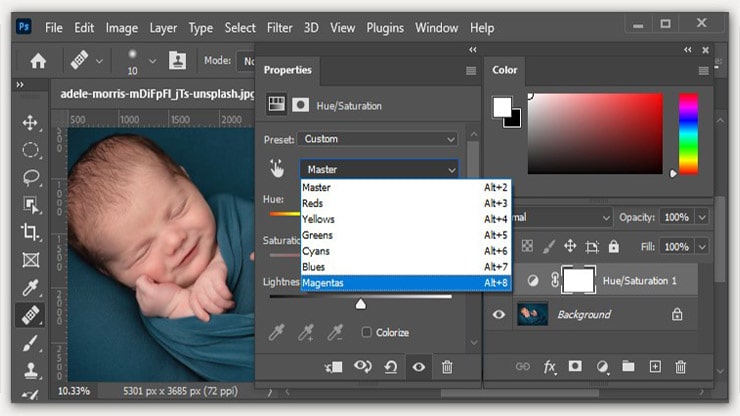
Navigate to Hue and Saturation Command
You need to locate the “Layer” menu from the Photoshop window and click on it. As you do so, a new tab will appear containing some options, and find the “New Adjustment Layer.” Enter there, and you will see the “Hue and Saturation” command; click on it.
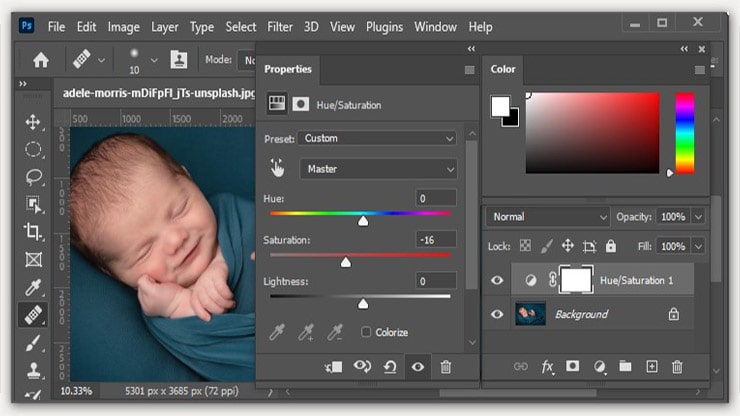
Reduce the Redness
After entering the “Hue and Saturation” command, you will see a layer popping up. There will be a slider for each option to reduce and increase as per the layer’s image necessity.
Then, you need to reduce the saturation of the red hue from the slider. After doing so, reduce the magenta saturation to reduce the image’s redness.
Desaturate for a Soften Look
Achieving a soft look is very crucial for infant images. Oversaturation can destroy the appearance of newborn photos. It will make the image more aggressive, which won’t look eye-pleasing to the audience.
Desaturating the image can be a better option for gaining the soft and fresh vibe of the pictures.
From the “Layer” and then the “New Adjustment Layer,” access to the “Saturation” layer. Use the slider in there and drag it to decrease the image saturation. As you reduce the saturation level, the aggressive look of the image will fade away.
In place of that, your infant image will gain a soft and smooth look.
How to Manipulate Newborn Images
Image manipulation is another thing you can apply to your infant images to enhance their appearance. You can provide a touch of fairy-tale on the pictures in this process. Though it is a complex method, it gives a stunning look to the image.
When the kid grows up, they will cherish those memories from childhood by seeing the fable-type pictures. The steps to follow are:
Remove the Background
First, you need to select the infant’s body from the image without selecting any part of the background. Use the “Pen Tool” for the process, reverse the selection, and delete the older background.
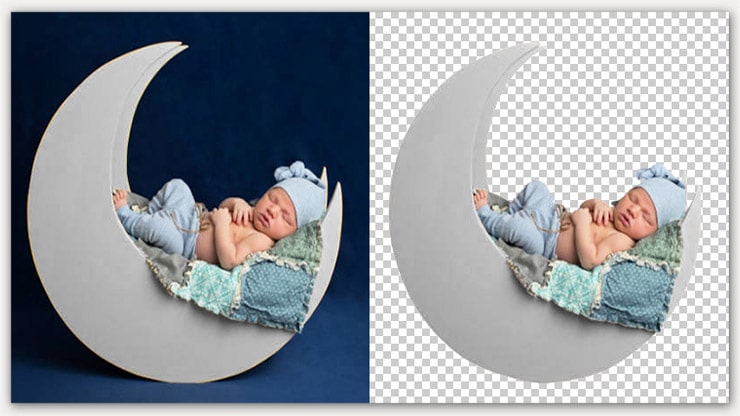
Manipulate Newborn Images Background
After eliminating the older background, your infant image will become transparent. Then you need to select a new background and choose a theme first.
For example, you can put the lying baby in a flower swing or a big-sized moon. Whichever fairy tale theme you choose, find a proper background regarding that.
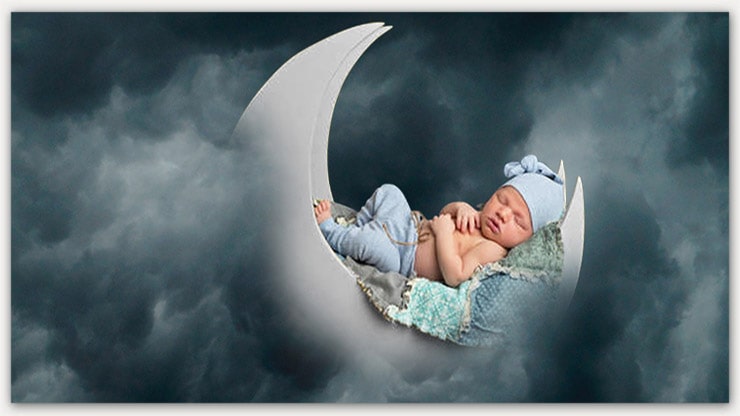
Manipulate Newborn Images
Download or create a background and save it to your computer. Then import it into Photoshop, and place it behind the image.
Put the transparent baby image in the perfect location, and smoothen the edges of the baby’s body with the “Dodge Tool” and “Burn Tool.”
Apply all the necessary effects, white balance adjustment, and color correction processes to match the new background with the infant’s body.
FAQs
The dark spots, stains, and blemishes in your baby’s images can give you headaches. But you can remove them quickly using some Photoshop tools effectively.
Apply the “Clone Stamp Tool” to the unwanted areas by dragging your mouse cursor. This tool will replace those unwanted areas with other suitable regions from the image.
Thus, you can quickly remove the dark spots, stains, and blemishes from my newborn’s images by using Photoshop.
Photoshop has a large collection of tools you can use to edit your newborn’s images.
Primarily, you need to use “Pen Tool,” “Clone Stamp Tool,” “Dodge Tool,” and “Burn Tool.” Some other tools also play significant roles in the editing and retouching process.
The reddish skin tone of the baby from the raw image is normal, but it needs to be changed. The creamy skin tone suits the babies the most.
You need to create a “Peachy Pink” layer and blend it with the image layer to achieve it.
Use the “Soft Light” mode, and keep the layer opacity within 35-40%. Then erase the unwanted parts of the “Peachy Pink” layer, and the baby’s skin tone in the image will become creamy.
Conclusion
While walking down memory lane, pictures play a vital role in cherishing memories. When a newborn sees the first light, it is also that moment that needs to be captured. But the raw images won’t look attractive and can fade the memories.
Learning how to edit newborn photos in Photoshop is crucial to prevent it. This tutorial will enrich your editing capabilities for basic editing as well as creative kids photo editing for appealing baby photographs.
Proper Newborn editing can make the infant images look like the parts of any fairy tale.
You may read: