Line drawing is very common in photo editing, art, and design. It is a very important skill for photo editors, designers as well as photographers. If you are a beginner learn the easiest way to draw lines in Photoshop using its different tools.
Photoshop is a treasure of tools that can create lines. However, only a few are more straightforward and effective than other options. There are mainly three tools: The line tool, the Pen tool, and the Brush tool that will give you the best output.
So let’s start the Line Drawing Tutorial and begin learning “how to draw lines in Photoshop” using the abovementioned tools.
Line Drawing in Photoshop
Photoshop has become a leading tool for Photo Retouchers. The program allows them to manipulate images using layers and filters to achieve their desired look. This tutorial shows you how to draw lines in Photoshop.
In Photoshop, you can draw lines using the Line tool, Pen tool, or Brush tool. Once you’ve drawn a line, you can change its color, and thickness, and even transform it into another shape. In addition, you can also apply various effects such as blur, drop shadow, and lighting.
Here are the three simple ways of creating different shapes and color lines with Photoshop.
Line Drawing Using Line Tool Photoshop
Photoshop has many shape tools; among them, Line Tool is unique. It produces a thin rectangle, but you can make it thicker by making stroke adjustments. You can’t find another great tool like this when drawing straight lines.
Although you can make curved lines if you want, you need to put much effort into customizing them. You can’t draw curved lines with it; instead, you must wrap the layer.
How to Draw Lines Using Line Tool Photoshop
Line drawing using the Line tool in Photoshop is easy if you know how to use it properly. In this tutorial, I’ll show you step by step how to draw using the Line tool.
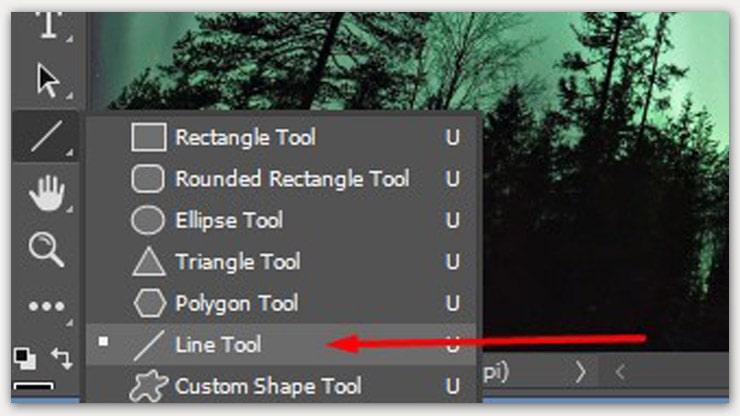
Step 1. Open Line Tool
Press your keyboard’s “U” button to find the shape adjustments because the line tool is there. You can reveal this hidden tool in another way by clicking and holding over the shape adjustment symbol.
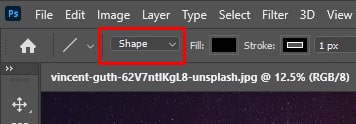
Step 2. Turn the Shape Mode On
This way, the line tool will be accessed. But before you start making lines, you should bring changes in the default adjustments. Check the top bar and ensure the selected mode is on “Shape.”
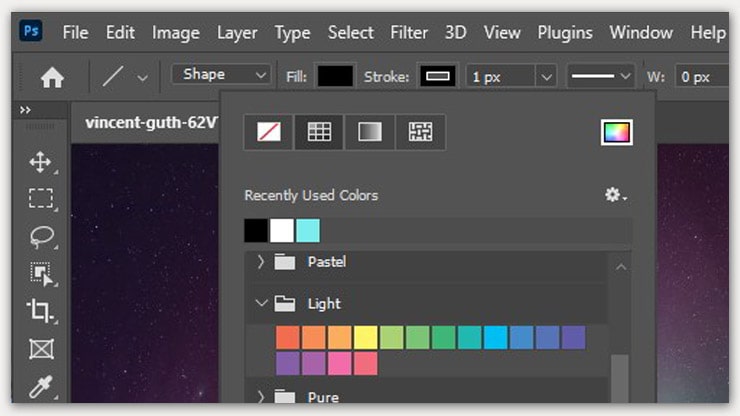
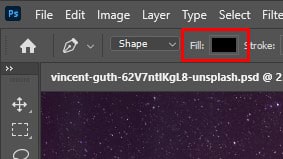
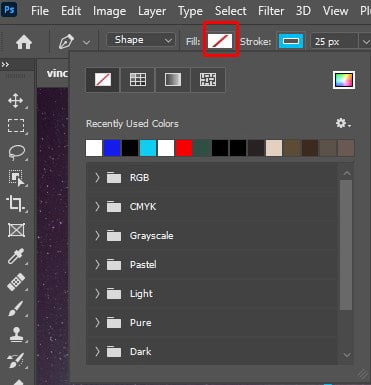
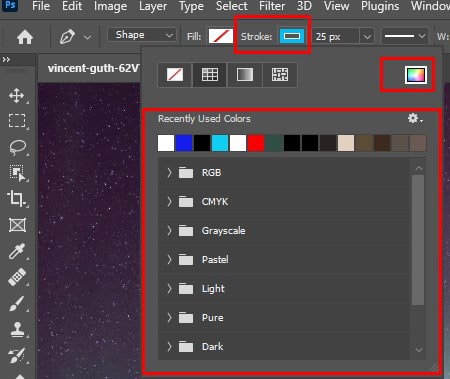
Step 3. Choose Color

Now, click the strokes box and pick a color you want to draw lines with.
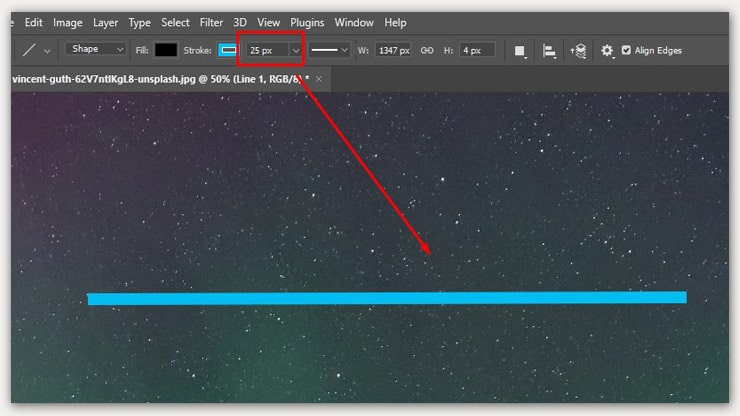
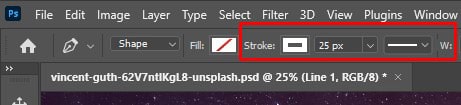
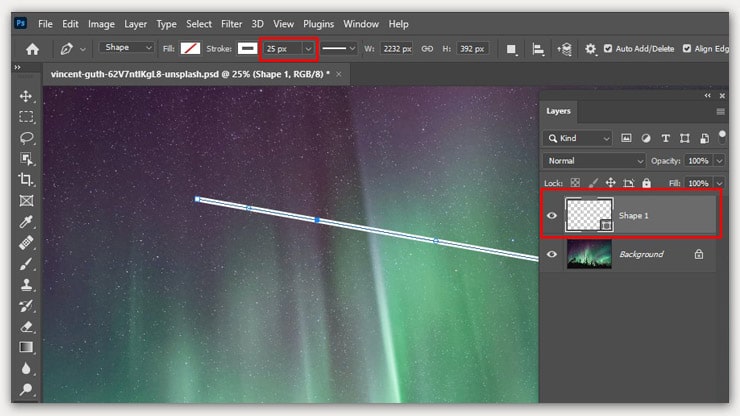
Step 4. Change Stroke Width
Depending on your requirements, change the stroke width. You can either make it thinner or thicker. If you don’t know what width will be better, you can begin with 15-25px. You can also adjust this later.

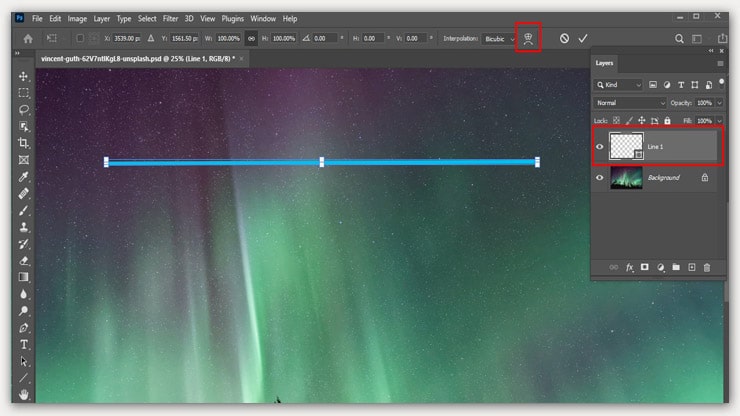
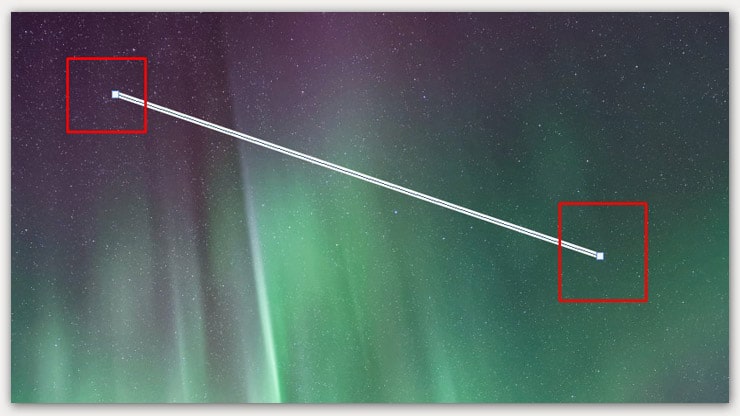
Step 5. Line Drawing
Now, you can start line drawing. Click from any place over the canvas and begin to drag your mouse to draw the line. Keep dragging the cursor until you reach the correct length line.
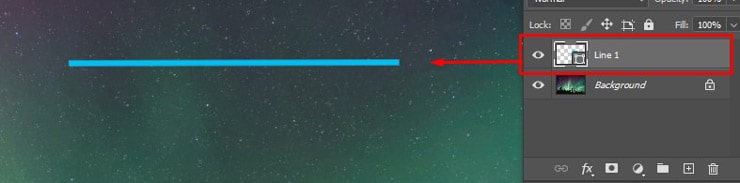
Step 6. Leave the Cursor
Let go of your mouse once you get the perfect line you require.
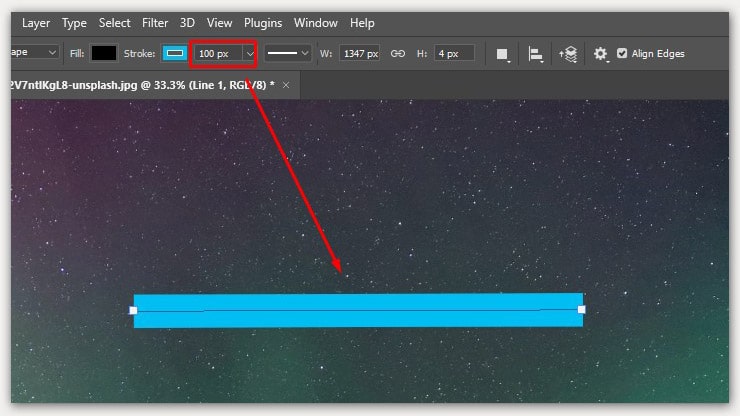
Adjusting the Thickness of Line Tool
After creating a line, you may think of changing the thickness. Fortunately, this tool allows you to adjust after starting and finishing work.
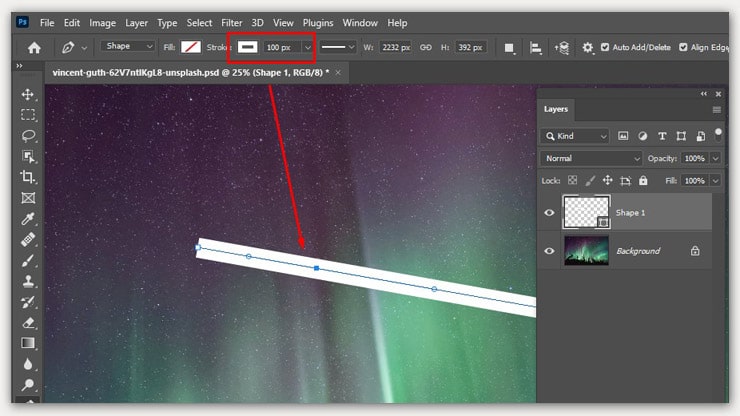
Step 1. Select Stroke Width
Now, click on the stroke width again to adjust the tool’s thickness.
Step 2. Put a Value
It will let you type a new value, so put any number you think will work for you and press over the entrance. You will find the thickness of the line has changed.
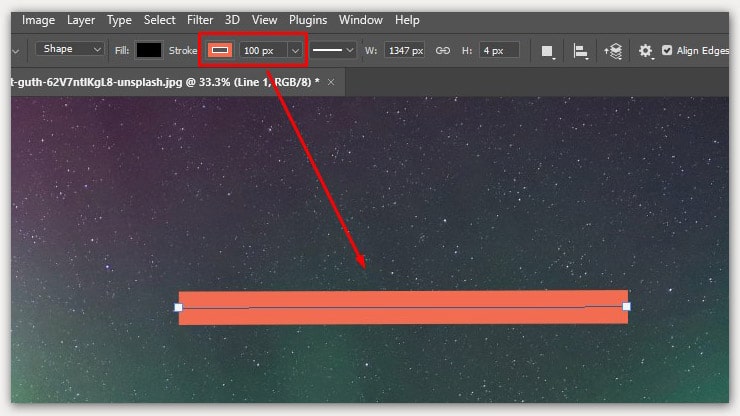
Changing the Line Tool’s Color
If you think the existing color of your line is not looking good, try changing it by choosing another color in the Stroke color option.
Outlining Dotted Lines
Step 1. Change Color
For changing color, click on your canvas once you select the layer, press U (to ensure the line tool is activated), click the box of Stroke color and choose a new color you like.
Step 2. Create Lines
Make Dotted or Dashed Lines Using Line Tool
Step 1. Access “Stroke Type”
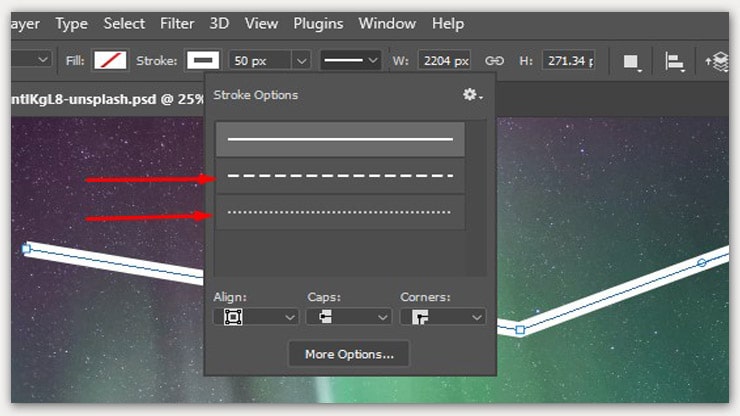
By default, the tool will only draw solid straight lines. However, if you want dotted or dashed lines, you can change the line type from the ” Stroke Type option.”
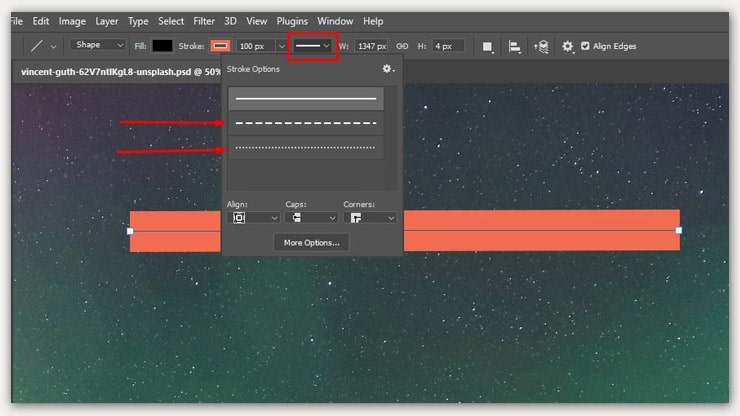
Step 2. Pick Your Required Line Type
You will find your line’s preview on the right side of the Stroke width. Click over that box, and it will reveal line options for you. From these options, you can either pick a dotted or dashed line.
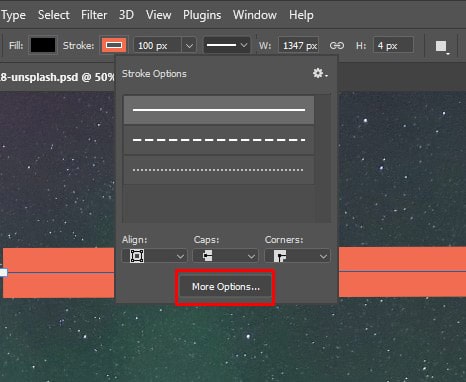
Step 3. Make Adjustments
You may have to adjust the dash sizes and space, relying on the line size. Click over the “More Options” at the bottom of the options panel.
If you want a dashed line, tick over it, or you can also pick it from the preset options.
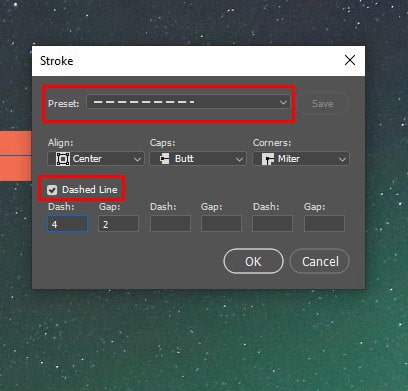
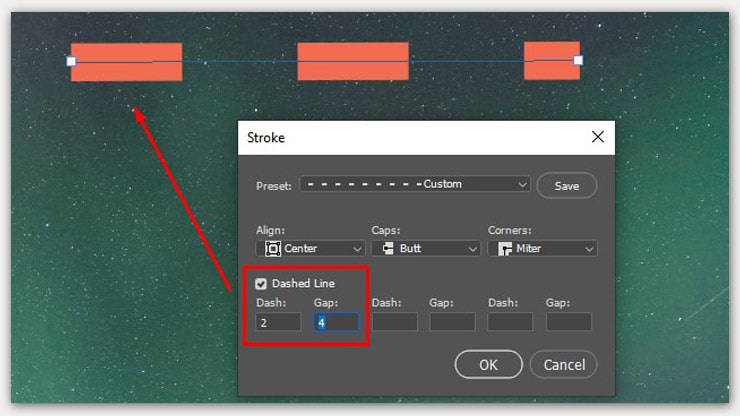
Do not forget to adjust the dash and gap width by typing values in the boxes. By changing the size of the dash, you will set the length of it, and by changing the gap, you will set the distance between each dash.
Step 4. Change Edges
It even has options for changing its edges. You have to play with its alignment options for that.
Now that you are finally done with adjustments, click the OK option.

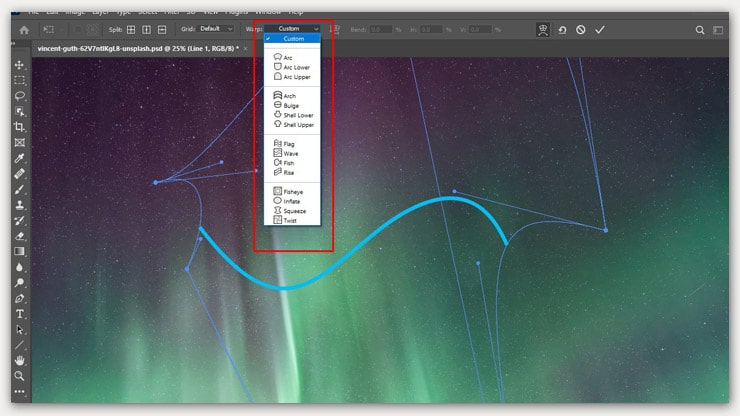
Curved Line Drawing With Line Tool
Curling the line, you are drawing is impossible since it makes a thin rectangle when working. Therefore, you have to curve those lines with the help of wrap adjustment.
Step 1. Click the Wrap Symbol
Select the layer first and then press control + T (on Windows) and Command + T on (Mac). This will give you access to transform adjustment. You will see a wrap symbol on the settings bar. Click it.
Step 2. Click and Drag
Now, it will help you curve the line as you require by clicking and dragging on different points of the line. It’s pretty simple when you do it manually. However, you can also use preset curves.

There are customized curves on the preset curve adjustment. You can choose one from them, and the line will be curved as the selected mode.
Line Drawing Using Pen Tool Photoshop
The Pen Tool of Photoshop is one of the most valuable tools. It allows you to create paths, make selections and draw lines. This tool will make you think drawing lines in Photoshop is super easy. You can draw straight lines, waves, and even lightning bolts.
How to Draw Lines Using Pen Tool
Draw Lines Using Pen Tool allows you to easily create straight or curved lines, shapes, text, etc. Now we will show you how to draw lines using the Pen tool in Photoshop.
You can use the Pen tool to draw straight lines, curves, rectangles, circles, ellipses, polygons, freeform paths, splines, and even text. The Pen tool also supports creating custom brushes from scratch.
Please follow the following step to draw lines using the Pen tool.
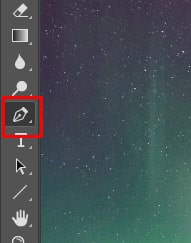
Step 1. Access Pen Tool
You can get the Pent tool on the left side of the toolbar. Also, press the keyboard’s P to access the tool.
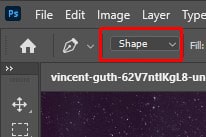
Step 2. Select the “Shape” Mode
Change the mode to “Shape” to ensure the pen will create lines instead of paths.
Step 3. Change Fill Color
It’s time to change the fill color. Please set it to transparent.
Next, pick a stroke color.
To get your required line thickness, set the value of your stroke size.
After finishing your work with settings, click anywhere over the selected layer. It will produce an anchor point. These points work to control the path.
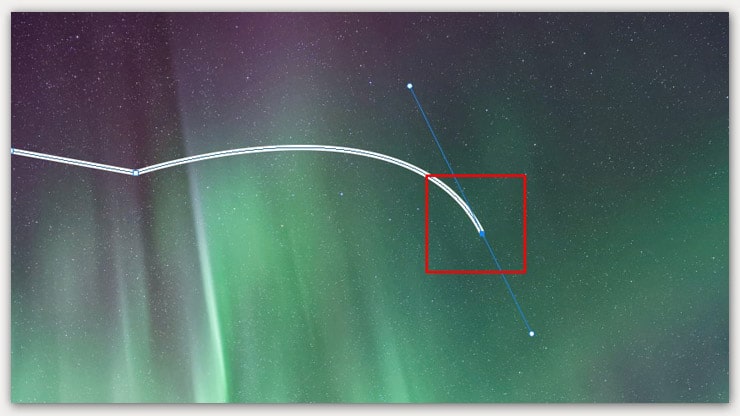
Step 4. Begin to Curve the Lines
Now click on the point you want to make curves and drag it to curve the line as you like.
Straight Line Drawing
Using the Pen tool draw a straight line more easily. Between two anchor points, Photoshop can automatically draw straight lines.
Hold the Shift key while creating anchor points to make your lines perfectly shaped, whether you want to create a horizontal or vertical line.
Making Thicker Lines
To create thicker lines using the Pen tool, you should select your layer first by clicking over it. This way, the line will also be selected. Now make changes in the value as you want to thicken it. It will also make the lines thinner with the lower values.
You will find the line has become thicker.
Creating Dotted Lines
The pen tool will also let you draw dotted lines, just like the Line Tool. This time the Stroke Type will help you with it.
Click over the “Stroke Type.” Depending on your selection, it will open the preset of a dashed or dotted line.
Customize the Look of the Line
To further customize the dotted lines’ appearance, click “More Options.”

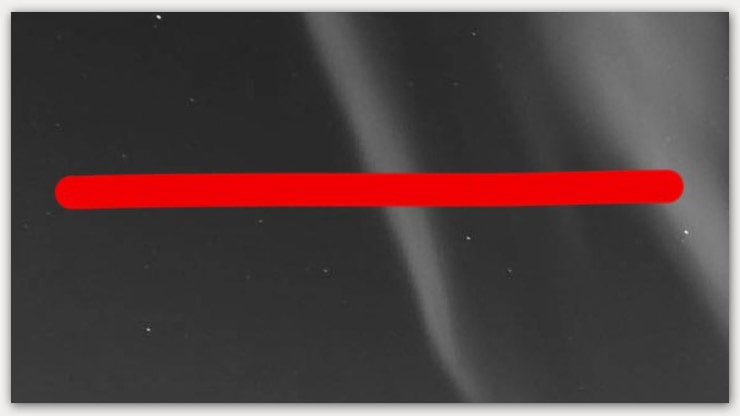
Line Drawing Using Brush Tool Photoshop
Using Brush Tool will be the right option if you want a more natural-looking line. It will feel like you are drawing over the paper. Then, with the help of the painting brushstroke, it can create lines. In this method, you are given total control over your mouse so that you can make any shape lines.
However, you can change how the brushstroke will look and the line’s shape by adjusting the brush and shape settings. You can even adjust the edges, and to make them look more feathery, use blending modes, tip shapes or adjust smoothing and other helpful options.
How to Draw Lines Applying Brush Tool
Drawing lines using the brush tool is very easy. In fact, if you’ve ever used Photoshop before, then you already know how to draw lines using the brush tool. So let me show you some basic steps to help you get started drawing lines using the brush tool in Adobe Photoshop.
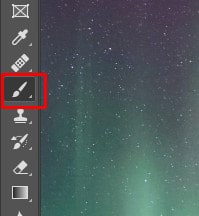
Step 1. Get the Brush Tool
First, check the toolbar to get to the Brush tool or if you can’t find it, press the key B.
Step 2. Access Brush Settings
Now access the Brush settings to choose the brush size and hardness. For example, if you want to draw a straight line with solid edges, increase the hardness to 100%.
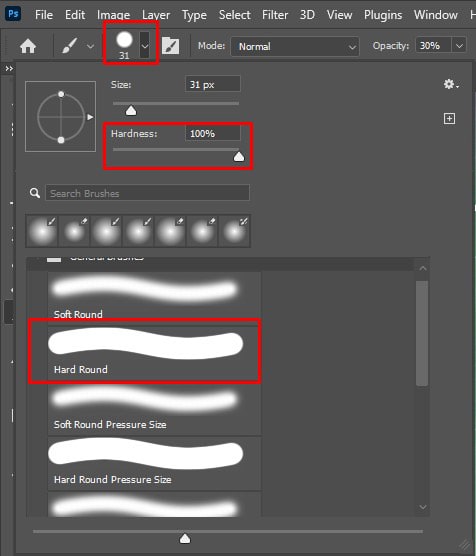
Of course, don’t forget to set the Opacity and Flow to 100%.

For most refined lines, set the smoothness of the brush by setting smoothing to 100%.

Step 3. Draw Lines
After having the settings in proper order, make a new layer. Now start drawing lines by clicking and dragging from wherever you want.
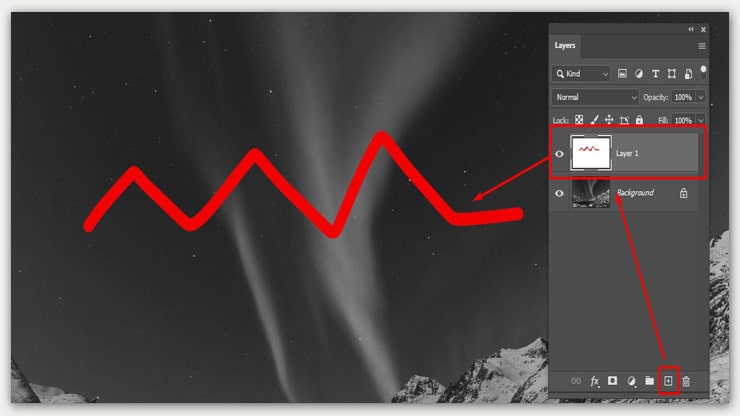
To create lines of any shape, move the cursor the way you are creating lines on the paper with a brush.
Creating Straight Lines
Since making lines with the Brush tool is like drawing with your hand, it is difficult to draw an accurate straight line. But don’t worry, we have a solution to this issue. Follow this shortcut explained below and see how effortlessly you can draw a line straight with this tool.
Outlining Dotted Lines
Want to make dotted lines? It’s super simple with the Brush tool. All you have to do is change the brush tip spacing.
Step 1. Access “Spacing”
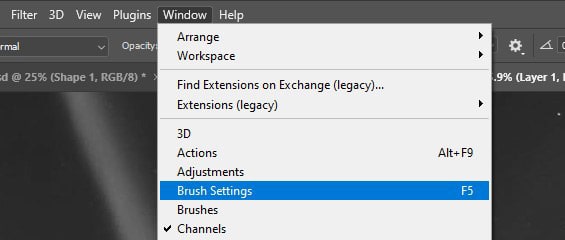
Open the brush settings panel, then select Brush Tip Shape to get the option. To find Brush settings, easily click over Window and the brush settings.
Step 2. Increases or Decrease
Below, you will see the option called “Spacing,” which you must increase to see the space between the brushstrokes.
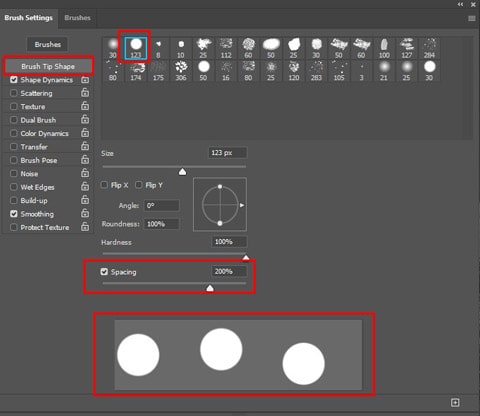
Now the lines will not appear as straight but as dots.
Step 3. Create Lines
Use the Shift key for drawing simple dotted lines or with your hand-drawn as you require.

Changing the Colour of the Line
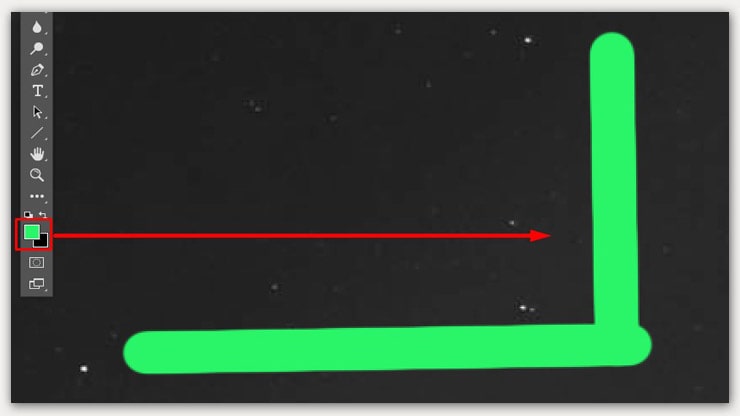
The best part of the Brush tool is that it lets you pick the color you want your line to be before beginning with the drawing.
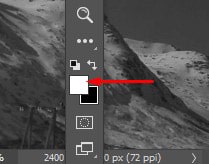
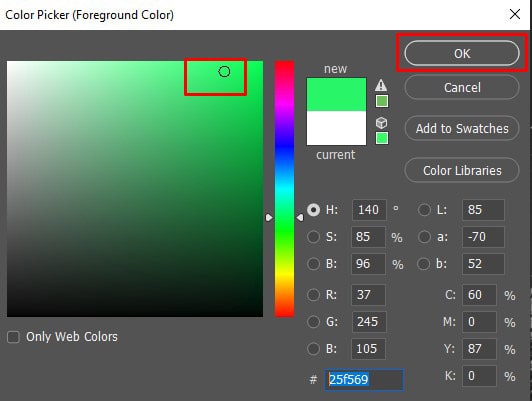
You can later change the color you selected by clicking on your foreground color, selecting another color as the replacement, and then clicking OK.
The brush’s color will be updated, allowing you to draw the line with your chosen color.
FAQs
Yes, Photoshop has a Line Tool tool, which is used to create straight, dotted, and dashed lines. You can access this tool by using the mouse to click and hold the Rectangle tool on the toolbar.
Yes, you can become a freehand in Line Drawing. Photoshop allows you to draw. With your hands, the brush tool will let you draw any shape you like.
You can draw horizontal straight lines by holding the Shift key and dragging it from left to right or vice versa.
First, you have to draw an even line, press the Alt key, and keep clicking the left tool to change the angle. Then, you can either move it downward or upward to make it curve.
Final Notes
So, these were the most straightforward techniques to draw various-shaped lines in Photoshop. With these methods, you can make different angle lines.
You’ve learned each tool and technique to draw lines in Photoshop from this Line Drawing Tutorial. For example, the line tool is helpful for regular use, the pen tool is best for creating simple curved lines, and the brush tool is great for freehand drawings.
You may read: