Are you looking to take beautiful product photos for an ecommerce business? But don’t able to pay attention to where to start? With a few simple Product photography tips and tricks, you can immediately elevate the quality of your photos.
Product photography is essential in helping customers make informed decisions about the products they are purchasing. It’s all about making the item’s appearance as attractive as possible for potential buyers to feel confident enough to hit ‘buy.’
The product photography tips may seem intimidating for those just getting started, but anyone can get stunning results with some guidance and practice. Here, we will provide some useful tips on how to get started with photography without breaking the bank.
Besides, when you have e-commerce websites or stores, you should be aware of the importance of product photography because human purchasing decisions are based on visuals.
‘A good face is the best letter of recommendation”.
– Queen Elizabeth (I)
Now, if you obtain a customer, you must deliver quality photos. In that way, editing during the post-production period is an essential part.
However, product photo editing is troublesome and costly. Moreover, it is a time-consuming task. But you can compress the cost by using the right tools and equipment.
Later, in this article, we will show you how…
What is Product Photography?
Product photography is the type of photography used to create images that showcase products for branding, marketing, and advertising purposes.
It plays an essential role in driving sales and boosting brand awareness in websites and online stores and offline magazines and catalogs for print.
Product photography setup is a specific section involving product photographs to represent them in advertisements or online stores. Though it is demandable, it is complex. Creating a photo that attracts customers’ eyes requires diligence and experience.
Especially for e-commerce websites like Amazon or eBay, it creates additional competition for every product.
So, these tips below will get handy. Expressing that the cost minimization process can be helped by following these simple product photography tips.
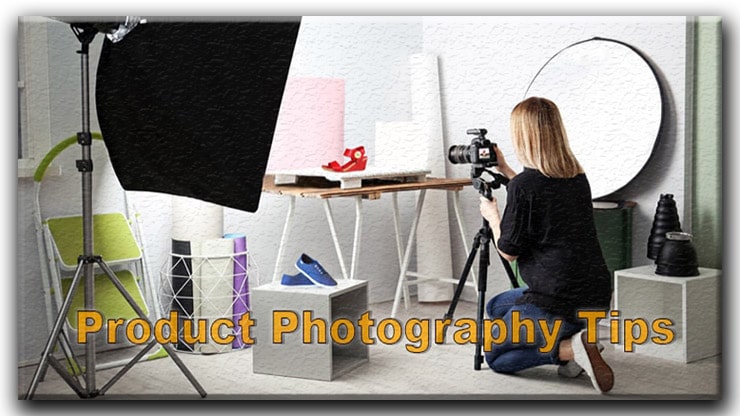
Product Photography Tips for Beginners
Product photography is essential for businesses or business owners that want to promote their products and reach out to potential customers. To get amazing shots of your products, there are a few tips that product photographers must consider.
That is why the visualization of a product is more important online because people cannot touch or feel the object in their hands. The customer has to order their product only by seeing it, so the retailer has to present his product using images and some descriptions.
Customers cannot touch the product in person, and retailers must present a photo to earn the customer’s impression. If you are a rookie in the e-commerce business, you need to know the tips for DIY product photography.
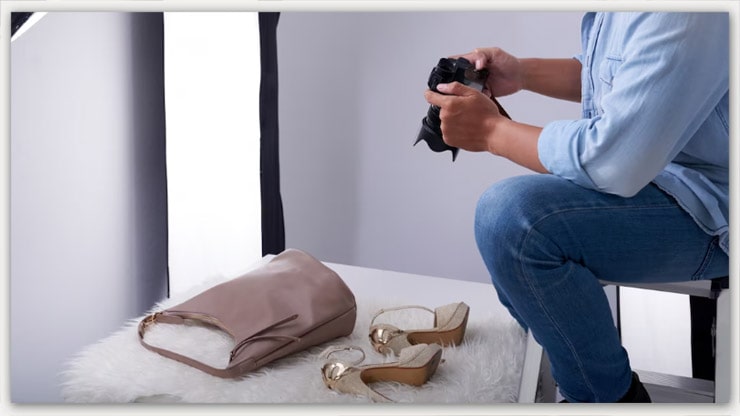
Choosing a Suitable Background
This is the first and most important photography tip. A suitable Background is preferable for your amazing product. Most e-commerce sites use a white background for their great product because it attracts consumers’ attention.
But you can use a black background and bring a different outlook to the product. You should use background light to highlight the product.
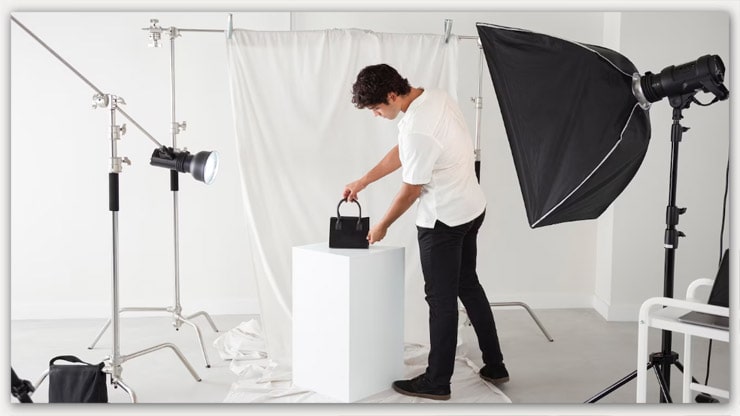
Placing of the Product
When photographing your product, you need to consider the position and placement. Because there are different shapes and kinds of products. So, you need to match the shape and size of the light product and take a photo of these products.
Camera Tips: Start Without Broke

For a great photo, you don’t need expensive equipment. Canon 5D is great, but it may only be affordable for some. So, you can shoot product photos using your smartphone. Because now most smartphones have a built-in camera.
These are capable of taking a high-quality image. But if you need more detail in a photo, you can buy a mid-range digital-single-lens-camera DSLR.
These camera settings give you more options and control over your photography. You can adjust white balance, focus, frame rate, and shutter speed. You can use an additional lens for these cameras.
So whatever camera you use, you need to be stable during photography. You can use a tripod for a better-looking image. The image needs to be sharp and clear.
Use Standard Lens
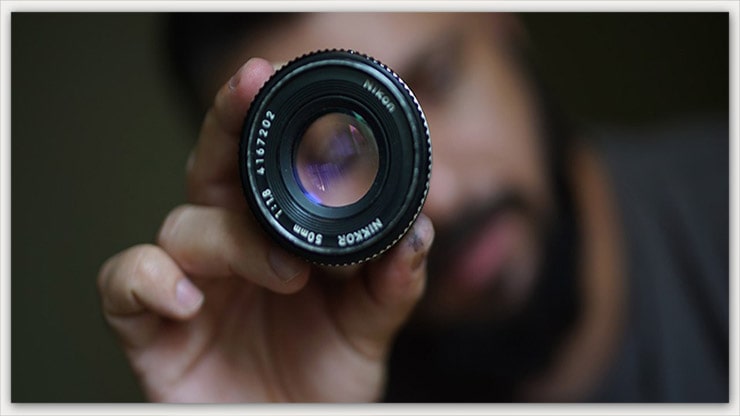
A standard lens is handier than a wide-angle lens. The wide-angle lances may destroy the theme. In contrast, a standard lens helps bloom the product’s original state.
Here, the popular 50mm lens is the best choice because the experts suggest a focal length between 40mm and 58mm.
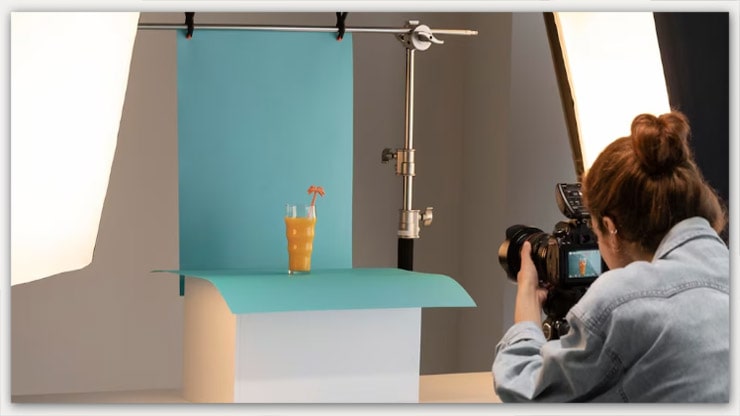
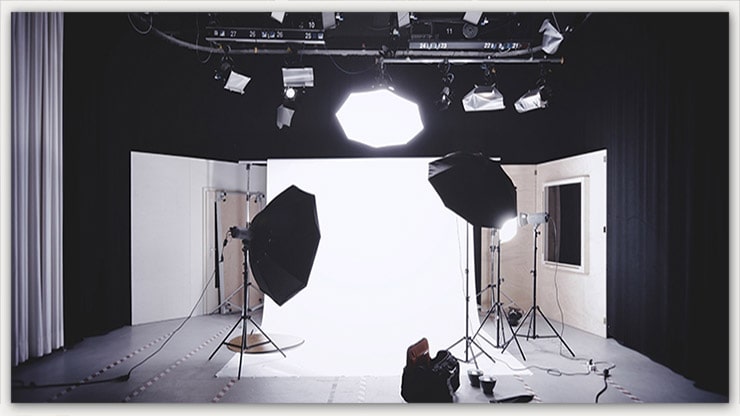
Think about Lighting
Product photography tips are only complete by mentioning something about the light. Natural lighting may be challenging to adjust light at a product shoot. Let,s start with a question. Will many photographers need to be conscious of perfect lighting?
Some photographers shoot in the sunlight, which may wash out the image. Sometimes photographers capture the image leaving the sun behind. Moreover, they use hard light and soft light adversely.
More indoor lighting is also another reason for poor photographs.
Artificial Light vs. Natural Light
Well, which one should you use? Ultimately this comes down to your personal preference. Photo means light. As a photographer, you know the urgency of Photography lighting.
The lighting is magnificent product shots. It is abundant and constant. In the case of product images, some products have multiple bends and corners, which makes the natural light inferior.
On the other hand, lighting setup is costly. However, having a setup will ease the process. If you are comfortable with the artificial setup, always use a diffuser with artificial light.
Oversaturation
To make the product image colorful, sometimes we magnify the color of the image, which makes the image unrealistic and unpleasant. Customers may skip these images because of oversaturation.
Noise Control
In photography, shaking is known as noise. Noise can make an image rough and vague. The poorly skilled photographer may do excessive editing and increase the noise.
Sharpness Control
To minimize the noise, sharpness control is mandatory. Moreover, some photographers do excessive sharpening due to less expertise and experience. As a result, they spoil the photo, and the good product photo needs to be more appealing.
Idea Sells the Product
Peoples buy the idea and the history behind the product. So, experiment with the subject to create something excellent. You can develop your ideas by asking how much more satisfying life can be with a product or how meaningful the product is to a particular case.
Pay Extra Attention to Reflections
A bad reflection showcases unprofessionalism. Besides, it increases the chance of creating doubt in people’s minds. However, the best solution is to either obtain a pro reflection or carry it in the image or remove the reflection completely.
Don’t be afraid to Shoot with Different Camera Angles.
Sticking with different camera angles is beneficial. Also, it influences the story. When taking images using the usual light, be watchful when picking the angle. In addition, take multiple shots from different angles.
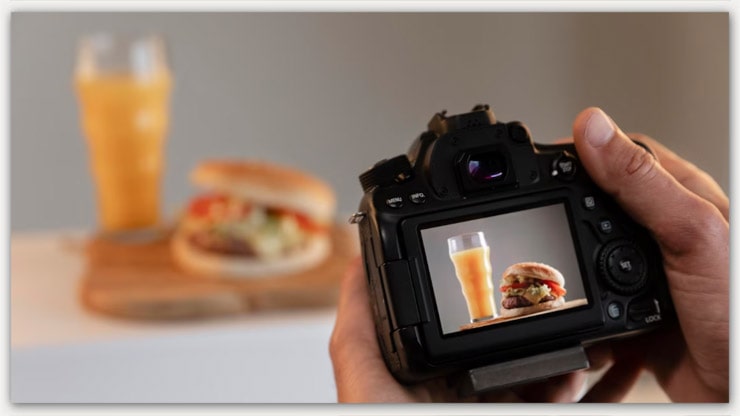
Promote the Details
This is the most important thing to do while packshot photography. It displays the details clear the drought in people’s minds. However, this can be problematic because of shaking hands or products. Use a tripod and a solid surface to host the product in such circumstances.
Follow the Product Image Specifications
Last but not least important is following the product specification for uploading a beautiful product photo on Amazon and eBay. As they have suggested, listing a product will require at least a high-quality image.
All the above tips will help you to capture more engaging images.
Post-Processing Product Photography
After taking a photo of a product, image editing is an important and necessary task. To make the product more vibrant and vivid to the customer through editing. After shooting a product, raw images are produced.
But these raw images get a more vibrant appearance after editing. There are various tools and software available to edit these photos. Adobe Photoshop. Illustrator, Lightroom, Paint.net, Photoscape, Snapseed, etc.
Moreover, to get the best editing result, you need professional and experienced editors are needed.
Importance of Shadow
E-commerce products need a vibrant and vivid look to attract customers. Adding some shadow can improve the image quality and attract customers.
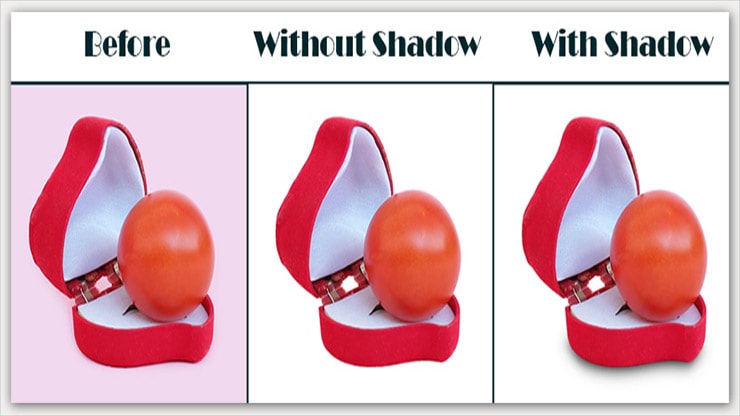
Shadow results: Before(left) and after without shadow(middle), with shadow (right).
With the help of editing software such as Adobe Photoshop, you can drop shadow, original shadow, and reflect the shadow. In addition, shadow-making would increase the depth of the product image and attract the targeted customers.
Color Balancing and Switching
On an online site, your product image color should be accurate to the original color. You need to understand the matching of color to the product. If you choose the proper color for your proper product, it will help you to generate more sales.
Color creates a desire in customers’ minds and earns trust and loyalty. You can adjust your color with any editing tools. In Photoshop, you can do this after shooting the product’s image.
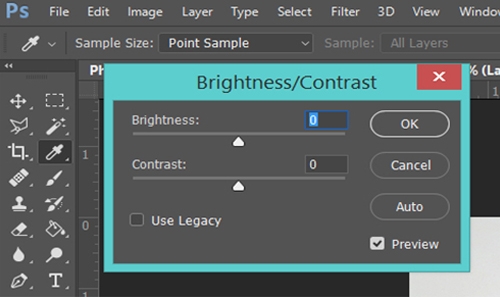
Brightness and Contrast Fixing
Brightness and contrast have a great impact on e-commerce product photos. After taking the photo, it may be dark or too bright. Adobe Photoshop gives a solution to adjust brightness and color.
Product Background Remove
When you are using adobe photoshop pen tool is a helpful tool. This tool gives you the highest utilization of editing. You can remove the background by using this tool. A clipping path is one of the methods for Background removal.
When you separate the background from your photo or the specific products, it is called Background Removal. The main reason for removing the background is to provide a simple look and give some highlights to the photo’s subject.
This technique is widely used in e-commerce websites. It is essential to remove the background of the product and put the subject on a white background.
Besides that, a product image needs photo retouching, color correction, and optimization according to the website’s requirement.
Final Words
When you sell your product on eBay, Amazon, or any third-party websites, you must use the Background replacement technique. Two tools used to separate backgrounds are a clipping path and advanced photoshop masking.
These tools give product photos more appealing and target more customers on e-commerce websites. Last of all, use every tip to apply your photography. You will see the result when your e-commerce store is more presentable and appealing to the customer.
The process involves study and patience, along with hard work. Besides, taking pictures will not address your success. Instead, smart workflow and proper planning can ease the hard way.
If you like our Processional Product Photography Tips, please share this article with your friends. However, if you have any questions, please let us know- by commenting below.
You may read: